Monday, November 25, 2013

It's a crewel, crewel world!


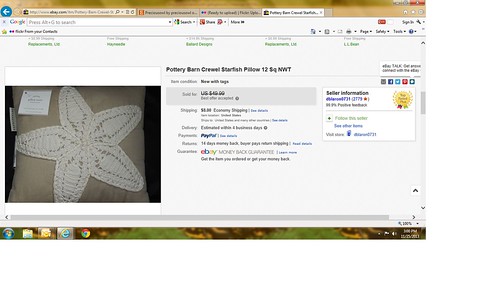
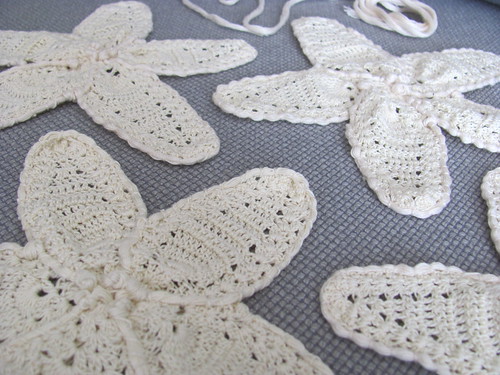
Recently I was commissioned to complete some custom crochet work quite unlike anything I've ever done before.  My client sent me a link to this ebay listing.  She wanted 3 stars like the one featured in the listing but she wanted them done in 100% mercerized cotton instead of yarn and 8" instead of 12".

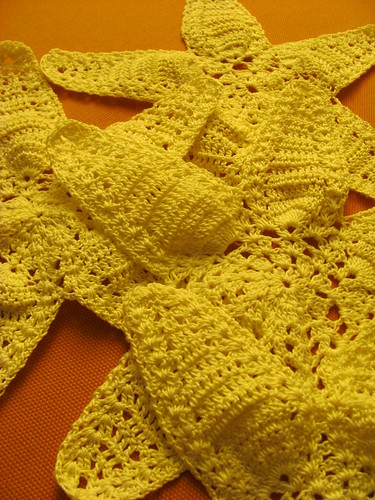
So after a fair amount of scrutiny, I reverse engineered the pattern and got to work.  If you're interested in making some of your own stars, it goes a little bit like this.  Depending on how tight you crochet, you may want to add a chain or 2 between each set. 


1) Chain 4 to create a "magic loop". 
2) Crochet 19 HDCs into the 1st chain to create your first round (19 + 3 chains = 20 total).
3) Crochet 4 HDCs in every 2 HDCs of the previous round (10 sets of 4).
4) Crochet 4 HDCs after every 4 HDCs of the previous round (10 sets of 4).
5) Crochet 4 HDCs in every 2 HDCs of the previous round and increase by 2 sets (12 sets of 4).
6) This is where it starts to get a little tricky and you need to pay close attention to your counting.  Crochet 4 HDCs after the 1st 4 HDCs, crochet 10 HDCs in the next 2 (center of 4), crochet 4 HDCs after the 3rd set of 4.  So the pattern is 4-10-4 x 5.
7) The next row you increase 4-11-4 x 5.  Then you tie off.

To create each star's leg the pattern is:

1) 4-10-4.  Flip the star and crochet backwards to start the next row.
2) 4-9-4.  Flip...
3) 4-8-4...and so on until you reach the top.  The last row is just 4-4.

Joining/finishing all the legs:

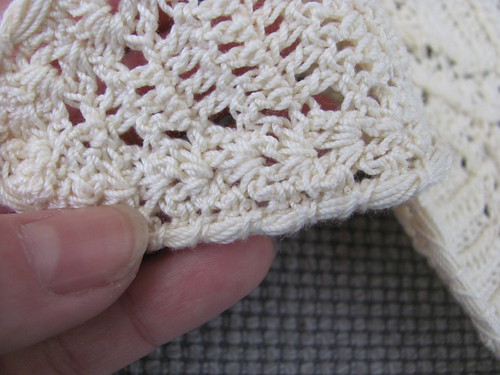
Chain 3 in the last row (which is 3 chains) of every row and connect with a single chain.  3-1-3. 

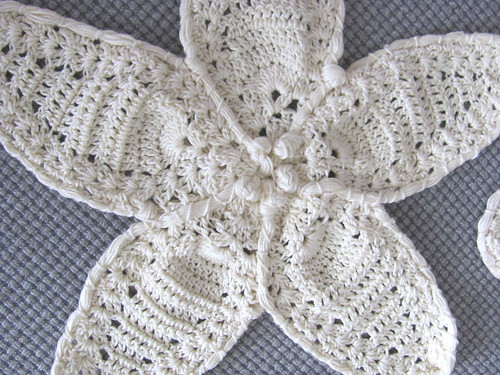
So now your star is complete and the real work is just getting started.  This was my first time ever attempting crewel work.  It's not hard but it's definitely a pain in the ass.  It takes forever and it's very tedious work. 


Crewel work:

Cut 10 2 foot long strings.  Bundle your strings and always keep them twisted tight.  Cut another 4-6 foot long string to embroider with.  Initially you will double French knot your string bundle to the center of the star and then you will blanket stitch the bundle all around the star.  French knot when you return to the center and start a new leg. 

While the results are amazing and a true testament to old fashioned handicrafts, I do not recommend this project unless you have a truckload of patience and time on your hands.


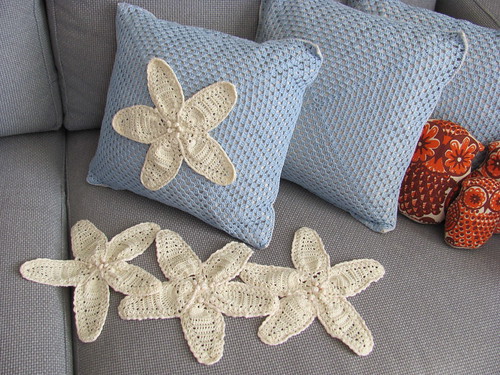
Finally, my client is going to embroider the finished stars onto her own pillows.  This last image gives you an example of what they'll look like.
Saturday, November 9, 2013

1960s US Philately

Business-wise, this is generally the beginning of the busiest time of the year for my etsy shop.  However, admittedly, this year has gotten off to a slower start than usual.  I shouldn't and don't want to complain though since on an annual basis, my business continues to grow.  I mainly just blame the shaky economy.  I'm extremely thankful for the steady business that I have and I'm especially appreciative of my loyal and enthusiastic customers.  But let's not forget the new customers either!  In spite of all of the competition out there, I know I've created something really special and unique and I'm so pleased that 930+ Etsians have favorited my shop.  Now I wonder how long it'll take me to break 1,000.

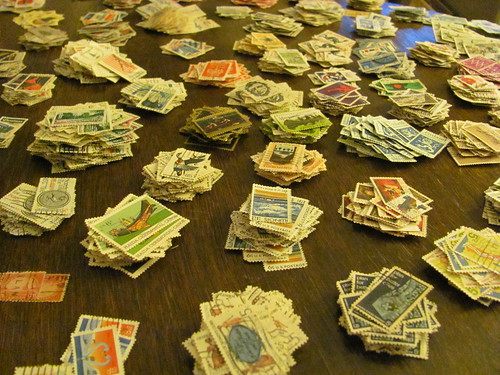
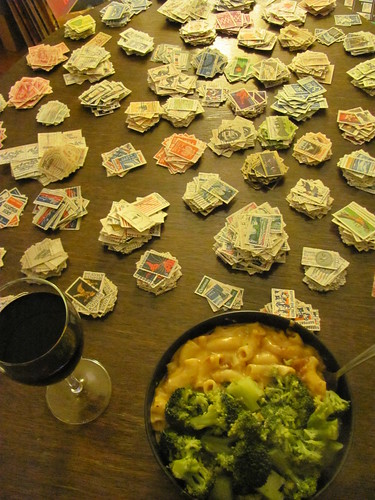
I recently acquired a fairly comprehensive collection of US philately from the 1960s.  I've spent the past weeks sorting through everything and after endless hours of sorting, labeling and organizing, I've finally processed the bulk of the collection.


Can you blame me for drinking a little wine in the process?


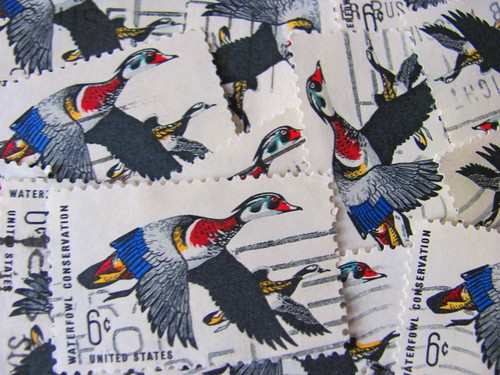
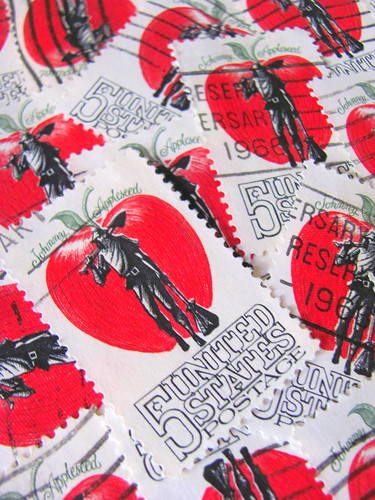
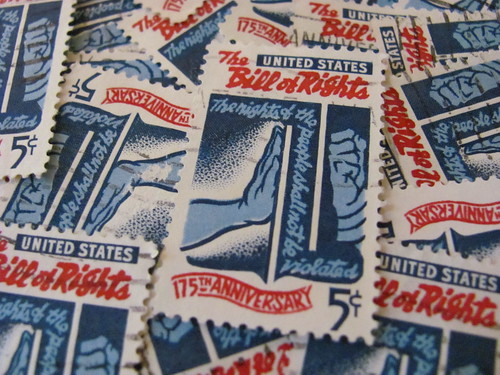
Here's a few close ups of some of my favorite sets.


Wood Ducks, Scott 1362.


Johnny Appleseed, Scott 1317.


Mississippi Statehood, Scott 1337.


Homemakers, Scott 1253.


Bill of Rights, Scott 1312.

I'll be back very soon with an update on a really cool custom crochet project I've been working on!

Tuesday, October 29, 2013

Hasta Luego!

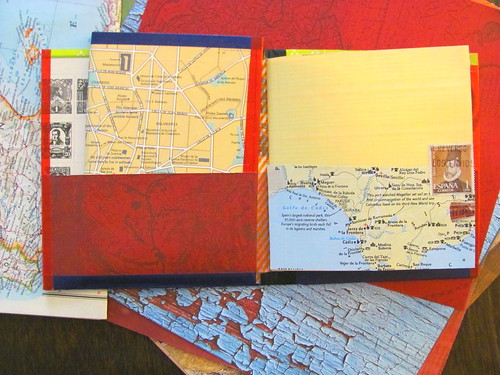
My dear friend JY is a high school Spanish teacher.  She loves Spanish culture and any Spanish speaking countries and she travels a lot.  Her next big trips will take her to Mexico and then Spain.  For her birthday, I decided to switch gears a bit (since last year I gave her a crochet scarf and the year before a handmade handbag) and put my scrapbooking tools to work.  She's recently expressed an interested in writing while travelling so I made her a Mexico & Spain inspired travel journal.

Perhaps this post will inspire you to make your own journal to accompany you on your next trip or create one to give as special handmade gift.

Here's some of the inspiring vintage (& non-vintage) ephemera I used: old Nat Geo's, maps, postage stamps (of course) and plenty of colorful scrapbooking paper.


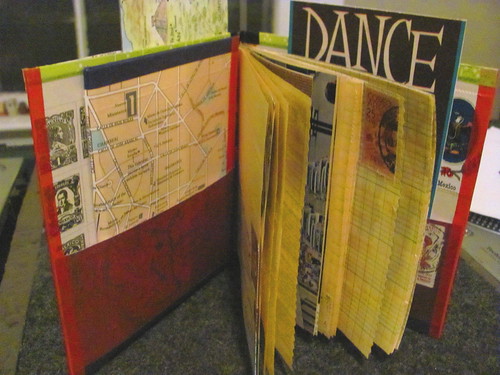
Being a record collector, I used old record covers for everything.  In this case I used the covers to make my journal cover and also a few book marks.


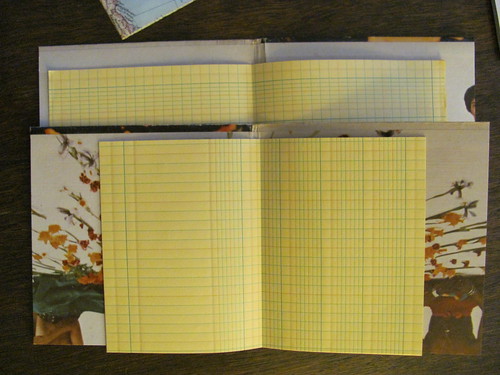
I used vintage accounting ledger for the journal pages.  


I stitched the binding of my book with my sewing machine and then reinforced the binding with vintage textured framing tape.  I covered the journal cover in a map of Spain, lined it with old stamp album pages and reinforced the pockets and edges with colorful washi tape.


Since I used gatefold LP covers to create the journal, they made natural pockets.  This is where JY can keep her receipts, passport, postcards or any other bits of ephemera she picks up along her journey.


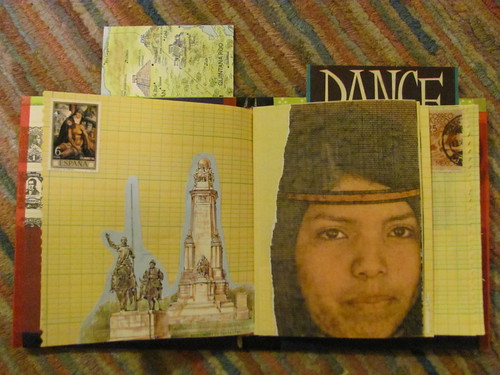
Then I really went to town and decorated every single page of the book with images and ephemera from Spain or Mexico.


And now it's back to the grind for me.  I have a couple crochet projects that I really wanna finish before I turn into a pumpkin!

Sunday, October 27, 2013

Crochet Pencil Skirt Party!

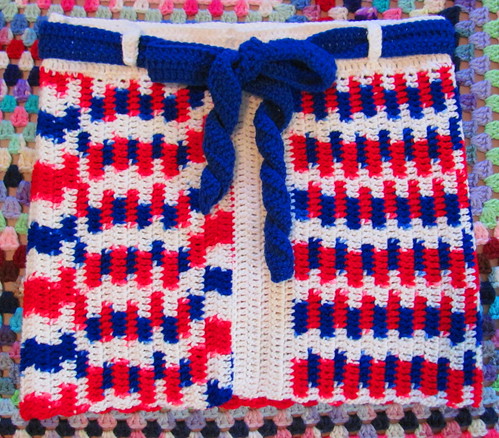
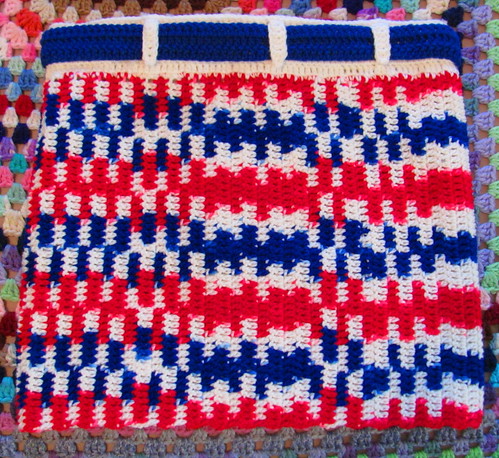
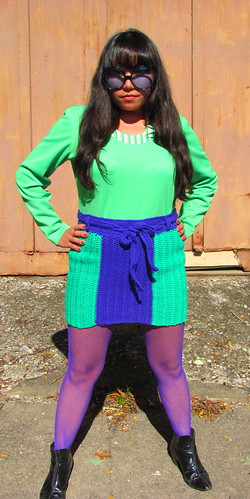
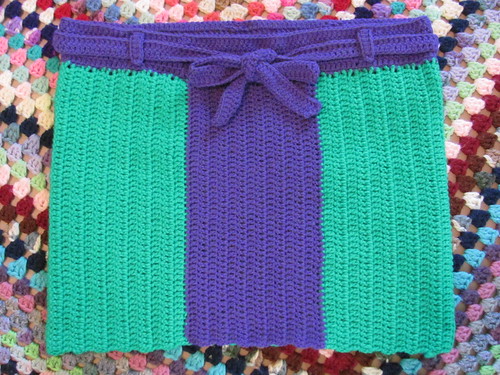
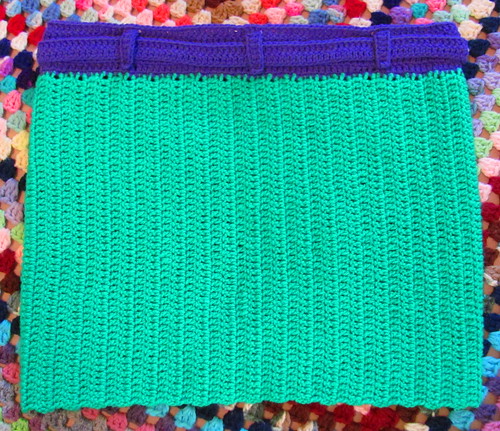
My fingers have been extremely busy lately.  I've been crocheting non-stop everyday and I'm very pleased with the results.  This isn't my first time crocheting skirts but this is a new pattern I just developed and I really like the belt loops and crochet belt that ties in a bow.  I love holidays and celebrations and the general idea of wrapping myself up like a crochet present. 

Here's the skirt I made with variegated red, white and blue yarn with white trim and a blue belt.


It's always fun to see how the variegated pattern works itself out.


And here's the super bold, racecar striped bright emerald green and blue-violet number!


I love this shocking color contrast!


These skirts are so flexible, form fitting and fun! I'm wearing them with bright tights but I would total rock them with leggings or bare legged too.


Monday, October 7, 2013

Rocktober

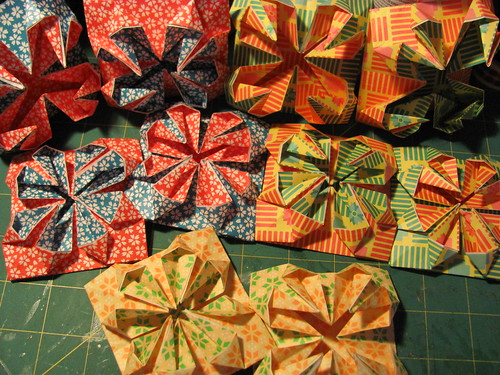
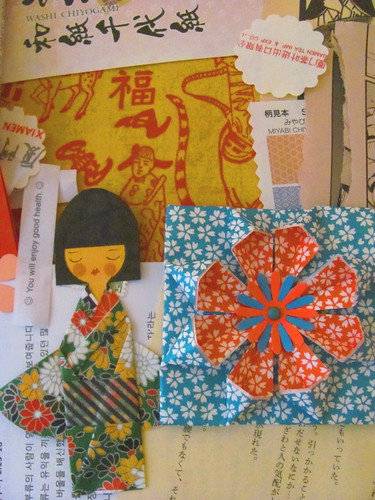
Rock on crafty people! Can you believe that October is already here?! Well, it's pretty obvious by my lack of updating that yet another busy autumn is under way. I currently have a lot of projects on the horizon but unfortunately, everything is still so far from being finished that I'm not quite ready to start bragging about them yet. So in the meantime, here's some pretty origami imagery from the Asian Inspiration scrapbooking kits that I assembled for my etsy shop over the weekend.

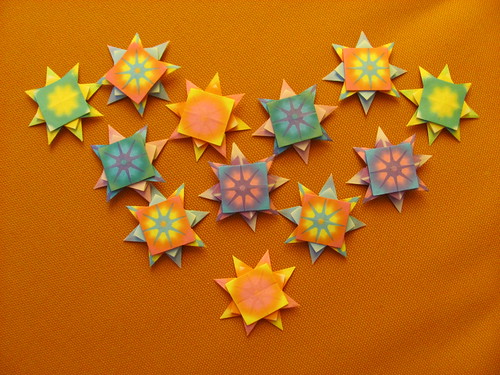
Mini satellite flowers.  These really pop with full 3-D effect.


I love the way the square posies look before they're full assembled.  Someday I'll get around to making a textured collage with a bunch of them.

 
Finished posies in all of their bold and beautiful symmetry.
 
 
Does anyone else love Bonchon Korean fried chicken as much as I do?
 
 
These paper kokeshi dolls are so much fun!


That's all for now.  Back to the grind but I hope to be back with a more substantial update sooner than later!


Friday, September 13, 2013

Advertising Space is now available for only $10 for 3 months!

I'm very happy to announce that I am finally able to offer advertising space right here on my blog.  Space is now available for only $10 for 3 months.  Your badge will display along the right hand side of my blog and it can promote a direct link to your shop, blog or whatever you like; just send me your badge code.  Payment is accepted via paypal or personal check.  Please contact me at preciousowl@gmail.com if you're interested!


An alternative to buying advertising space on my blog is swapping badges for free.  If you are interested in swapping badge space on your site and mine, please let me know and that can easily be arranged.  Thanks!

Wednesday, August 28, 2013

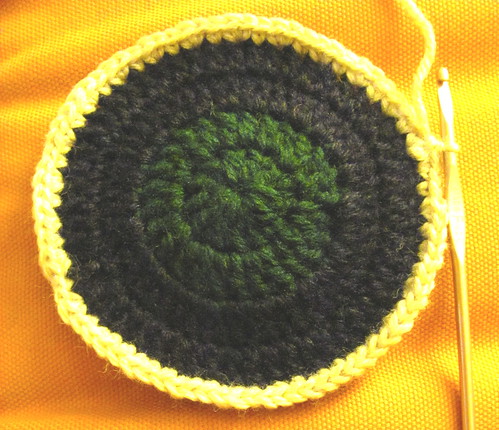
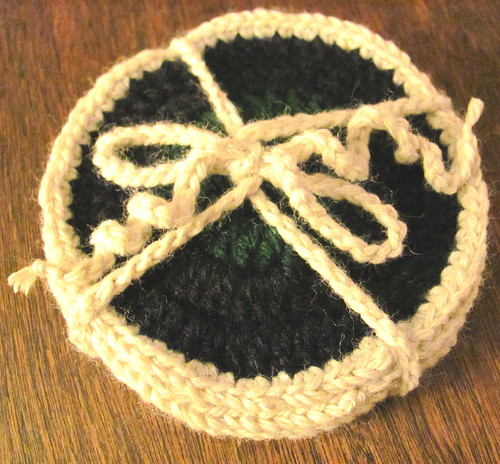
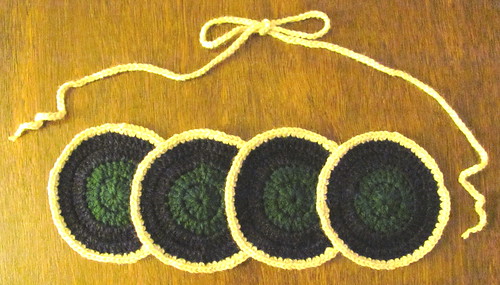
Round Coasters & Coaster Keeper Crochet Tutorial

Damn, it's been a while since I've worked on any tutorials and it's time I got my ass in gear!  Well, here's something quick, fun and utilitarian that we can all create.  I'm attending a housewarming party this weekend and you know I can't leave home without a useful handmade gift.  And not only will this tutorial teach you how to make coasters and a cute little coaster keeper but by the time you've finished them, you'll have mastered the art of "making rounds" and you can move onto your own creative adventures of circle making.  Once you know the technique, you can use circles to create embellishments, rugs, bowls, shawls, jewelry and more!

Also worth mentioning, although I've taught myself how to read patterns over the years, I learned to crochet without reading patterns when I was kid.  There's a myriad of abbreviations used in patterns and if you want to learn how to read patterns, it's essential to know them.  However even though I consider myself to be a master crochet wizard, (most of) my tutorials are intended for novices & I feel that by describing the steps in detail rather than just speaking in code, they will be more easily understood.  So I hope you find my instructions helpful, especially if you're only just getting hip to hooking!  If you can't read patterns, it's OK; you can still learn to crochet and I will teach you the necessary terminology along the way.


Alright people, let's get down to business!

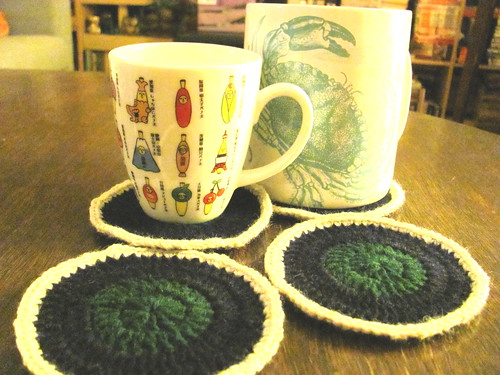
Supplies, you don't need much.  Technically, if you want everything to be all one color, you only need one skein of yarn (to create 4 coasters & 1 coaster keeper) but if you want to spice things up a little bit, I suggest using at least 3 different colors.  For this particular pattern I used a size F hook to create 4 1/4" diameter coasters.

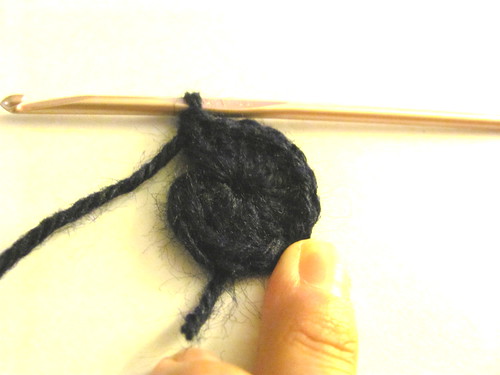
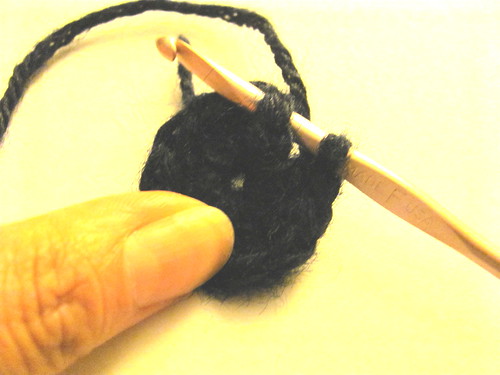
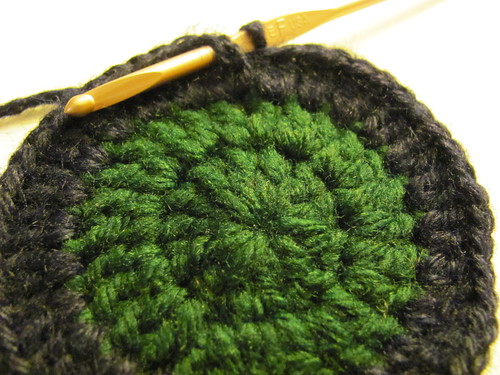
1) Chain 4.  For more instructions on basic crochet steps, click HERE.


2) HDC into the 1st chain.


3) Now you're going to start making your first "round".  Although it may seem crazy at first, you're going to make a total of 13 HDC's all in the first chain.

 
Keep it going...!
 

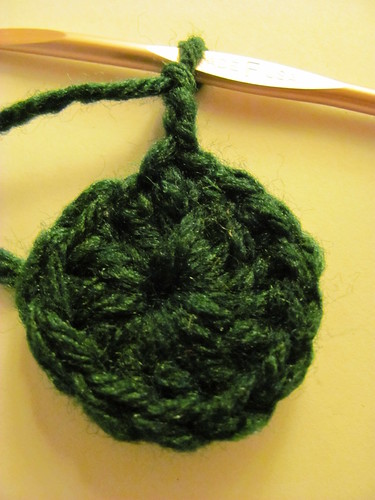
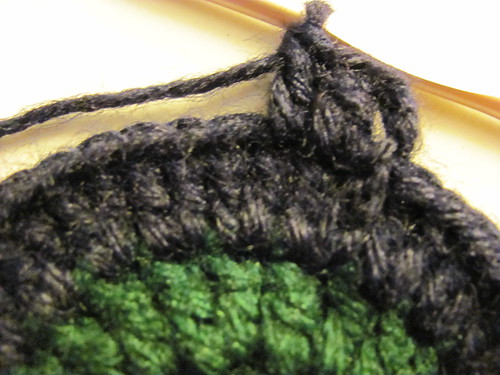
4) When you get to the end of the round, connect your last HDC to the top of the starter chain with a slip stitch, tie off and hide your excess behind the back.

 
Now your first round is complete!
 
 
5) Round 2 starts similar to Round 1 by chaining up 3.

 
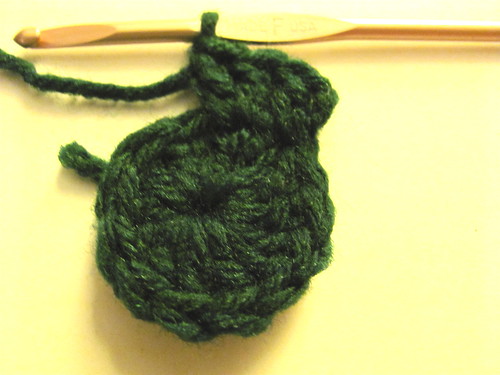
6) Now you're going to make 2 HDCs in the top of each HDC from Round 1.  Because we're doing 2 stitches in one, this is a form of "increasing", or "inc" in pattern terms.
 
 
7) When you get to the end of the round, connect your last HDC to the top of the starter chain with a slip stitch, tie off and hide your excess behind the back.
 
 
8) If you're using different colors of yarn, you might want to switch to a new color here.  For Round 3, repeat the steps for Round 2 but at the end connect with a slip stitch and chain up 3 to start the next round (instead of tying off). 


9) For Round 4 we're "decreasing" ("dec" in pattern terms) and only making 1 HDC in each HDC of the previous round.  Start by chaining up 3 (as mentioned above) and then 1 HDC in 1 all around. 
 
 
10) When you get to the end of the round, connect your last HDC to the top of the starter chain with a slip stitch, tie off and hide your excess behind the back.


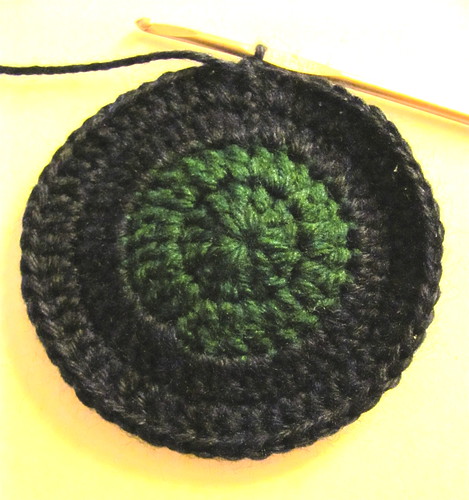
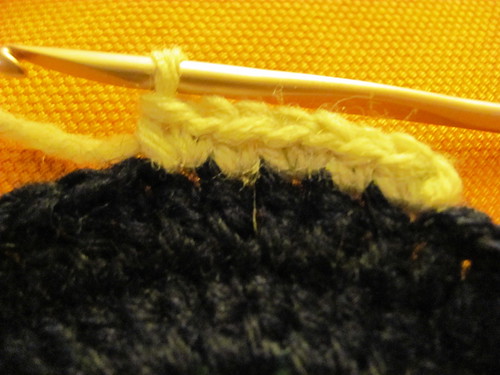
11) If you're using different colors of yarn, you might want to switch to a new color here.  For Round 5, the final round, you're going to follow a tiny alternating pattern.  2 DC (double crochet) in 1, 1 DC in 1, 2 DC in 1, 1 DC in 1...and so on all the way around.
 
 
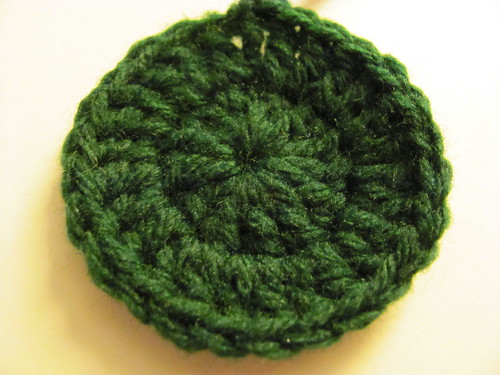
12) When you get to the end of the round, connect your last DC to the top of the starter chain with a slip stitch, tie off and hide your excess behind the back.  Now your 1st coaster is complete!


Creating the Coaster Keeper

1) Follow the steps for creating a coaster up to step 10 which ends at Round 4.

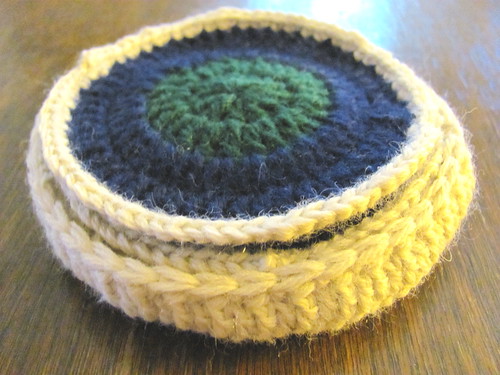
2) If you're using different colors of yarn, you might want to switch to a new color here.  Starting Round 5, you're going to follow a tiny alternating pattern.  2 HDC in 1, 1 HDC in 1, 2 HDC in 1, 1 HDC in 1...and so on all the way around.  But to create the bowl shape of the keeper with the "right side" showing on the outside, you need to flip the coaster/keeper over and start on the "wrong side" by chaining up 3.  When you get to the end of the round, connect your last HDC to the top of the starter chain with a slip stitch, tie off and hide your excess behind the back.

3) For Round 6 we're "decreasing" ("dec" in pattern terms) and only making 1 HDC in each HDC of the previous round.  Start by chaining up 3 and then 1 HDC in 1 all around.

4) At the end of Round 6, don't tie off.  Connect your last HDC to the top of the starter chain with a slip stitch.  Starting Round 7, the final round, chain 1 and DC 1 in 1.  Then you're going to follow a tiny alternating pattern, 1 DC in 1, 2 DC in 1, 1 HDC in 1, 2 DC in 1...and so on all the way around.  Because you're continuing to decrease on this round, don't hold your yarn too tight or else the edge will look wavy.  If you're really afraid of holding the yarn too tight, you can even switch to a larger hook.

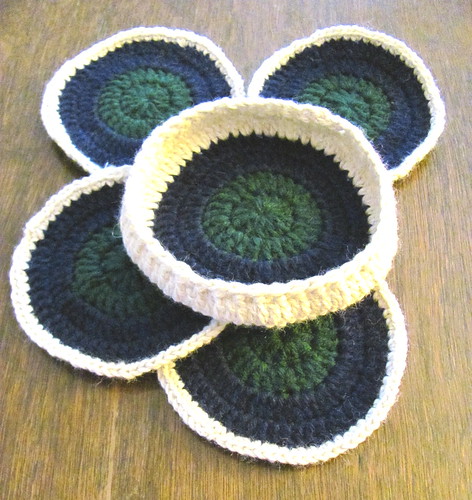
Voila!  Now you have an adorable little coaster keeper and really, you have to keep just coasters in it.  You can now use this pattern to create any number of keepers for your special things.