Wednesday, July 24, 2013

Postage Stamp Collage Cardmaking 101

As you may or may not already know this fact about me, I grew up in Western NY.  My family still resides there, out in the suburbs, in the house I grew up in.  Geographically, there's about 500 miles between us.  Since I moved to RVA about 4 yrs ago, I only get to see my family a few times year.  As time spans on, I cherish these trip more and more.  Nothing feels quite like home and it feels like I can never get back nearly enough.  Often many month's worth of holidays, birthdays and special occasions are compressed into one giant celebration when I'm at home. 

My dad turned 70 yrs old a few days ago and I'm typing this post from my childhood bedroom where I'll be staying for the next few days.  My parents are sound asleep in their bedroom and I can hear the familiar sound of trains in the distance.  My bedroom windows are wide open and the cool Northern breeze is ever so refreshing.  This summer evening has all of the magical emotion as many summer evenings passed as a kid and a teen right here in this very spot.

Anyway, in preparation for my trip up here to celebrate my dad's 70th, I made a card for him and also a card to honor (long since passed) Mother's Day & my mom's 69th birthday.  My dad's a retired mechanic and loves anything having to do with cars.  My mom, like many moms, is obsessed with cats. 

Mom's card first with a quick cardmaking tutorial to boot.


Supplies (you don't need a ton of them but here's a few you might want to play with)
Scissors
Pencil
Extra fine tipped Magic Marker
Tacky glue
Glue stick
Alphabet stencil
Card stock (3-4 sheets in different colors)
Washi tape or any sort of decorative tape
Ruler
Exacto Knife
[optional] Sewing machine & thread

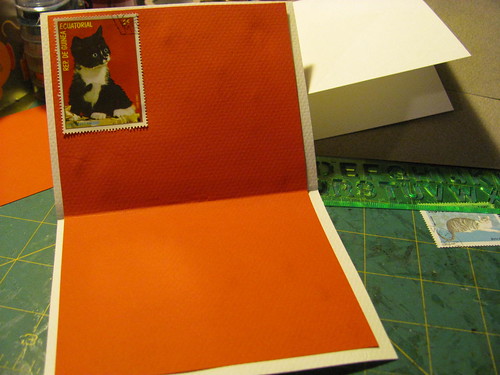
1. Layer the card paper.  Measure the paper for your card and cut it to your liking.  I used 8 1/2" x 5 1/2" for the white base and then mounted 8" x 5" red paper onto the center of that to create the "frame".  Only glue the back of the card.  Do not glue the front.


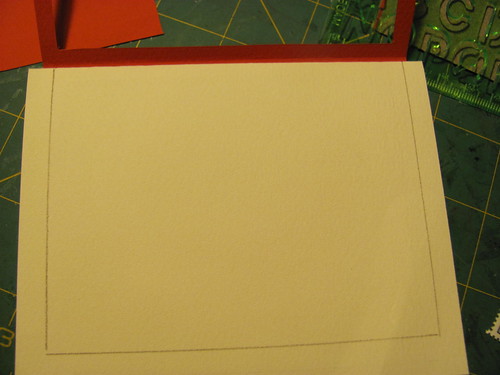
2. To cut out the frame, measure 1/4" in on each size, trace a rectangle and cut it out with your Exacto Knife, against the edge of a ruler for a straight edge.


3. Lift up the edge of the frame and trace a rectangle beneath where the frame will lay.  You're basically creating an imaginary border for where you will lay your little stamp collage.
 

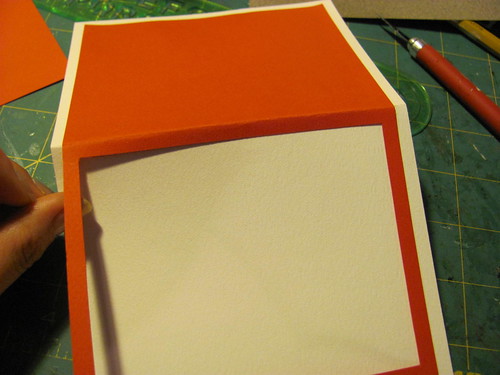
4. Pick out your stamps and glue them down inside of your imaginary border.  If any stamps hang out from under where the frame lays, just cut them off with scissors or an Exacto knife.  Once the frame edge is clean, glue the frame down with tacky glue.

 
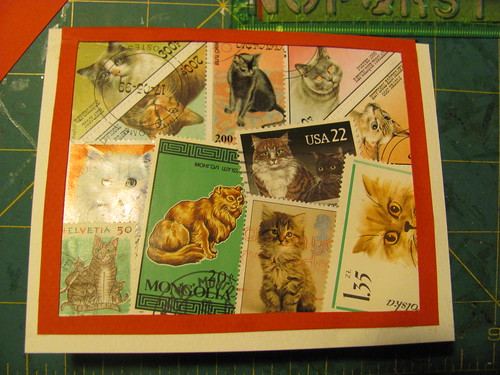
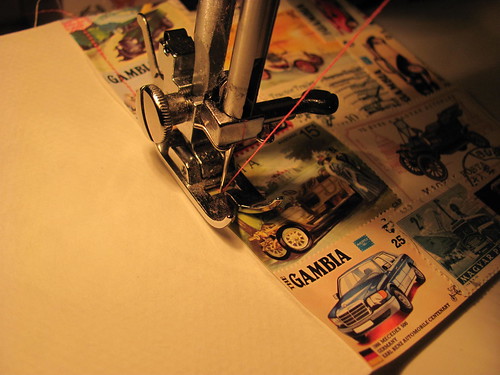
This step is optional.  If you have a sewing machine, you can sew around the frame for extra textured embellishment.
 
 
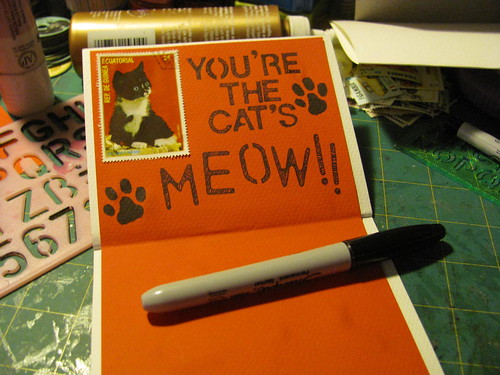
5. Inside of the card you can mount another smaller paper and add a stamp or two to make your recipient smile.
 

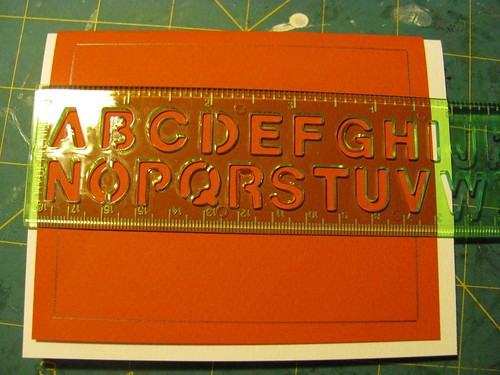
6. Stencil out your greeting for extra style.  I also drew in a few paw prints.


Moving onto my dad's card.  I'm not going to describe every step because it's actually quite similar to my mom's card.


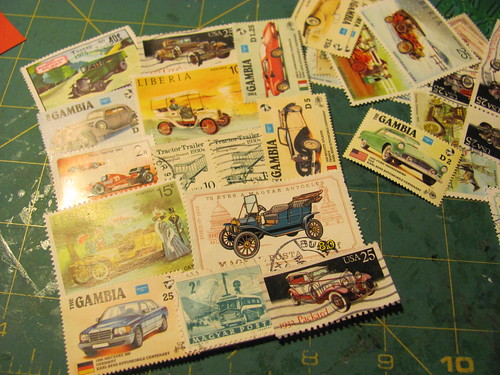
So there you have it and if you want to make similar cards, with similar stamps, you can find more car stamps HERE and you can find more cat stamps HERE.
 
Thanks for looking and good night!


Wednesday, July 10, 2013

Vintage Postage Stamp Albums

Perhaps my customers have wondered where my philately comes from.  While I sometimes wish I had a magic key to a secret stamp cove where everything is already organized and readily available upon request, that's rarely ever the case.  Acquiring and managing philatelic inventory is a perpetual and rather complex process that varies from stamp to stamp or from collection by collection. 

Often when I purchase a private collection, on an organizational level, it's nothing short of a messy crime scene.  The stamps in the collection may be on or off paper, still hinged and/or mounted in an album, filed away in glassines, envelopes, stock books or just randomly tossed in a box or bag.  It often takes days, weeks, months and even years to process a collection.  Sometimes processing such philately is a soothing and melodic process, other times it's extremely stressful and may even cause me to question how or why I came to be a philatelist in the first place.


Last night I acquired a reasonably sized collection containing a lot of beautiful, classic vintage stamp albums.  Although these albums may seem common to me, I imagined that my customers may never have seen them before.  Just like stamps the (cover) art is so historic and the quality of the albums so beautiful that it speaks to a time and place far from our current reality.  This vintage ephemera brings me so much joy, I'd like to share a few of my favorite album covers with you.


Modern Postage Stamp Album, published by Scott Stamp & Coin Co., Ltd. in 1952.


Modern Postage Stamp Album(s), published by Scott Stamp & Coin Co., Ltd. in 1930.


Modern Postage Stamp Album, published by Scott Stamp & Coin Co., Ltd. in 1933.


The Imperial Postage Stamp Album, published by Scott Stamp & Coin Co., Ltd. in 1931.


The Adventurer Album for Postage Stamps of the World, published by H.E. Harris & Co. in 1934.


Globe Stamp Book, published by E. M. Kovar in 1931.


Imperial Stamp Album, published by Scott Stamp & Coin Co., Ltd. in ?


The World United States and Foreign Postage Stamp Album, published by Stamp & Album Co. of America in 1948.

I hope you enjoyed this little glance into my treasure trove!