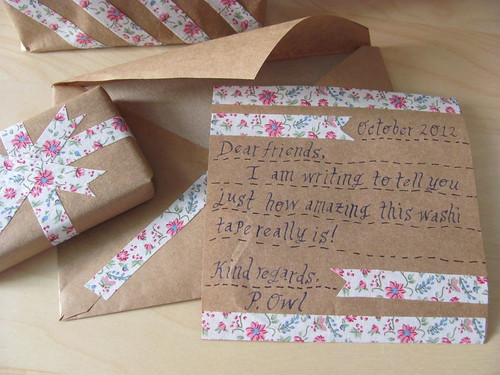
For those of you who don't already know Korean or Japanese Washi Tape is all the rage in arts & crafts, mail art and scrapbooking circles these days. For years it was very difficult and expensive to acquire. The colors and styles were very limited. Finally I've secured a direct resource for the tape and it is now available to purchase in my etsy shop! Starting today I'm selling a variety of fabric based washi tape rolls. This tape is made of fabric and looks and feels like cotton ribbon. Today I just listed a rainbow of polka dotted shades and over the weekend I will list a variety of fun and fresh floral patterns. I still have nearly 30 different patterns to list so please keep checking back for new items. I hope to have everything up by Monday.
Washi tape is an extremely versatile adhesive. It's very similar to masking tape but lighter and more flexible [forgiving]. If at first you apply it incorrectly, it's easy to correct and reapply without damaging whatever surface you're working on. It's especially fun to work with because it looks so cute!
Here are a few ideas of what you can do with washi tape:
Don't just wrap your presents with it. Wrap it all around your presents! Criss-cross it and cut it with pendant edges. Embellish your own handmade paper ribbons and bows with it. Add a colorful splash to your gift tags. Use it to seal envelopes and embellish your own stationery. The possibilities are endless!
In the future I will be carrying many more patterns, colors and styles of washi tape so stay tuned and thanks for looking!
Friday, October 12, 2012
Monday, October 8, 2012
Upcycled Crochet Votive Candle Holders
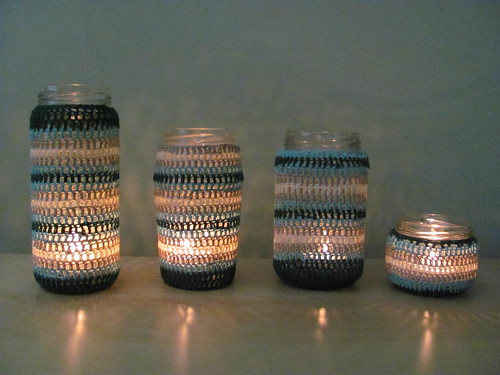
I'm somewhat embarrassed to admit that I even though I started and finished this project months ago, I've been so busy that only now have I forced myself to blog about it. Inspired by Creative Carmelina, I wanted to try my hand at creating my own upcycled crochet holders. As there's never any shortage of glass jars in our house from all of the pickled food that we eat, I thought it would be a great idea to crochet some votive candle holders with them.
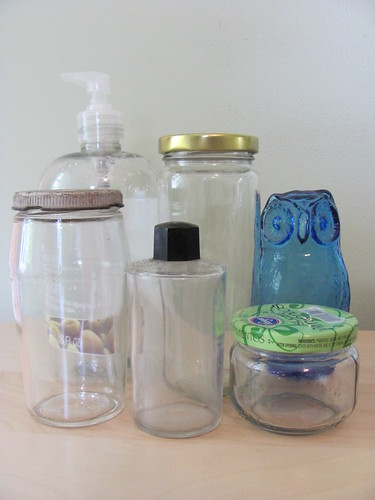
You can really use any sort of container you might otherwise recycle or dispose of.
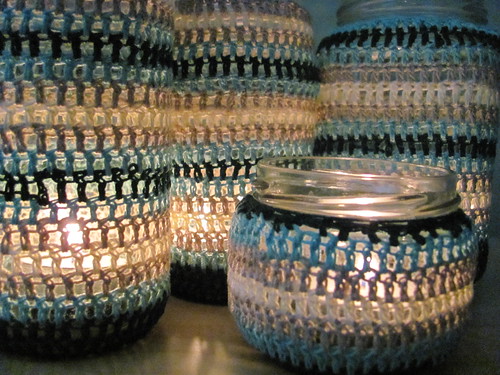
You can also use any sort of yarn although I used vintage doily yarn since I have so much of it sitting around crying out to be used. I also really like the effect of the doily yarn. When the candle is glowing, it looks like lace.
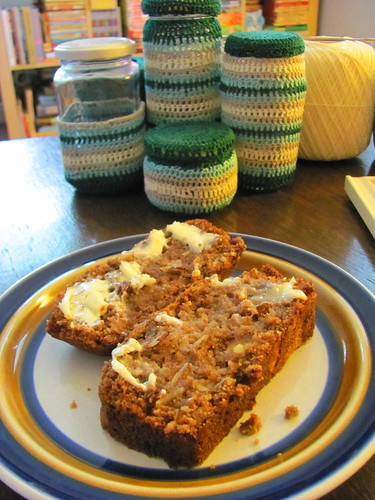
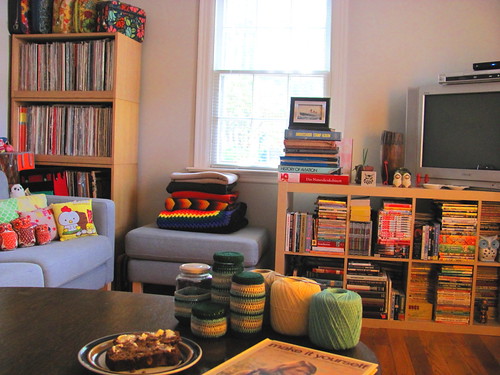
Here's a shot of the holders nearly finished with some zucchini bread I baked. This is our living room where a lot of crocheting is commenced.
I thought I might be going a little overboard crocheting the tops of the holders but in the end, that extra little bit of detail really brings the whole set together.
Of course, you can use the holders to hold more than just candles. They're quite portable and stackable too.
So next time you're about to toss that empty glass jar into the recycling bin, just think of something more than you can create with it!
Tuesday, September 25, 2012
Villa Parker Wedding Inspiration
My stamps have just been featured in Style Me Pretty's Little Back Book Villa Parker Wedding Inspiration photo shoot. Unfortunately, you can't really see the stamps in any of the stills featured on the site but you can catch a closer glimpse of them in this video. The theme of the shoot was Tuscan, slightly rustic with some painted props. The main color themes were gold and royal blue. Another inspiration for the shoot was the movie "A Good Year", starring Russell Crowe. At the request of the event planner, I provided them with a collection of vintage Italian postage stamps to match the wedding theme. They made a collage of the stamps and framed them (look for a white frame with 3 openings in the video). The framed collage was then nestled amongst the other rustic props in the reception area. While normally my wedding customers use vintage stamps as decorations on their invitations and place settings, the idea of framing and displaying stamps that represent a place and/or time that is very special to them is a great idea! This adds a great personal touch to any occasion and doubles as a fantastic gift!
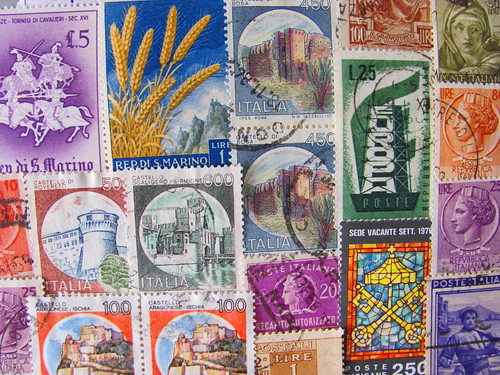
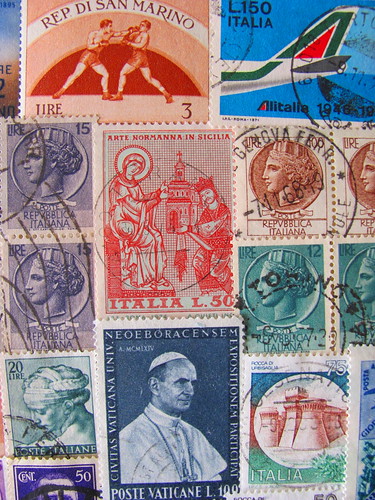
Here's an example of some beautiful vintage Italian stamps I just added to my shop today.
Here's an example of some beautiful vintage Italian stamps I just added to my shop today.
Thursday, September 13, 2012
A Treasured Past
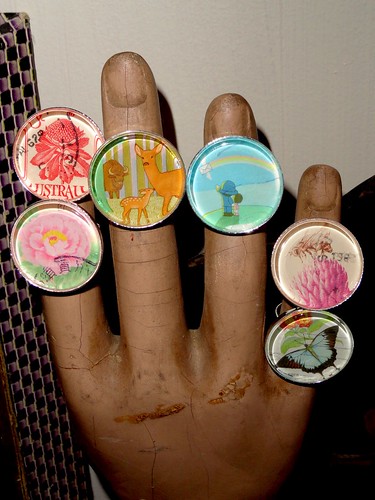
Yet another one of my delightful etsy customers has been hard at work creating some beautiful stamp pendants. Tamara lives in a 1920s bungalow in a small country town in NSW, Australia. Similar to me, she is collector and coveter of antique and vintage treasures. She loves thrifting and crafting with her unique finds. You can read more about her lovely adventures on her blog . Here are some large round pendant rings that Tamara designed:
Tamara hasn't started selling on etsy yet so if you're interested in her pendants, I suggest contacting her directly. If you're down in Oz, it looks like she's an active vendor around the local craft show circuit.
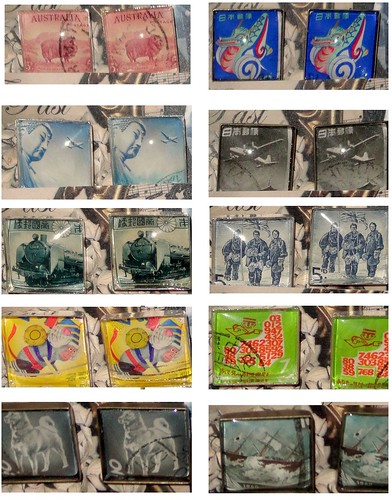
And here are some gorgeous "Scrabble tile"-sized square pendants created with Japanese stamps (& 1 set of Australian stamps). The Japanese stamps are from the 1940s - 1960s and they are some of my favorite philatelic specimens. I recently purchased a large Japanese stamp collection from a local collector who was stationed on "Slave Island" in Japan during WW2. Since I acquired this collection, Japan has been my main philatelic focus.
Monday, July 16, 2012
Akino Sato on Iichi
I love handmade goods from all around world. Maybe it's because I'm Korean that I have some sort of natural affinity with Japan but when I see crafts handmade from Japan, I love them even that much more.
Stamp pendants seem to be all the rage these days. You can wear a whole bunch of them as charms or make one simple personal statement with one representing the country you are from or special memories from a place you have visited. A lot of my customers make pendants but these particular ones are made by one of my favorite etsy customers. She was one of my first customers from when I first opened my shop and I've really enjoyed doing business with her through the years.
At the moment she is only doing business in Japan. You can view her Iichi shop HERE .
I really like how Akino incorporated stamps into the gift wrap tags for her items. You can easily create your own stamp gift tags with a punch, some stamps, card stock, a whole puncher and some twine.
Best of luck to Akino and her shop!
Monday, July 9, 2012
About Me Updated on Etsy
Recently, etsy created a new space within each seller's shop
where you can share the story of your business with the world. In this new About page, you can upload pictures of your workspace,
yourself and your projects. It's a place, separate from your profile (which is pretty limited with how much content it can hold) where you have plenty of space to tell the world how
you got started, what inspires you, and what your shop is all about.
Today I published my About page and you can view it RIGHT HERE.
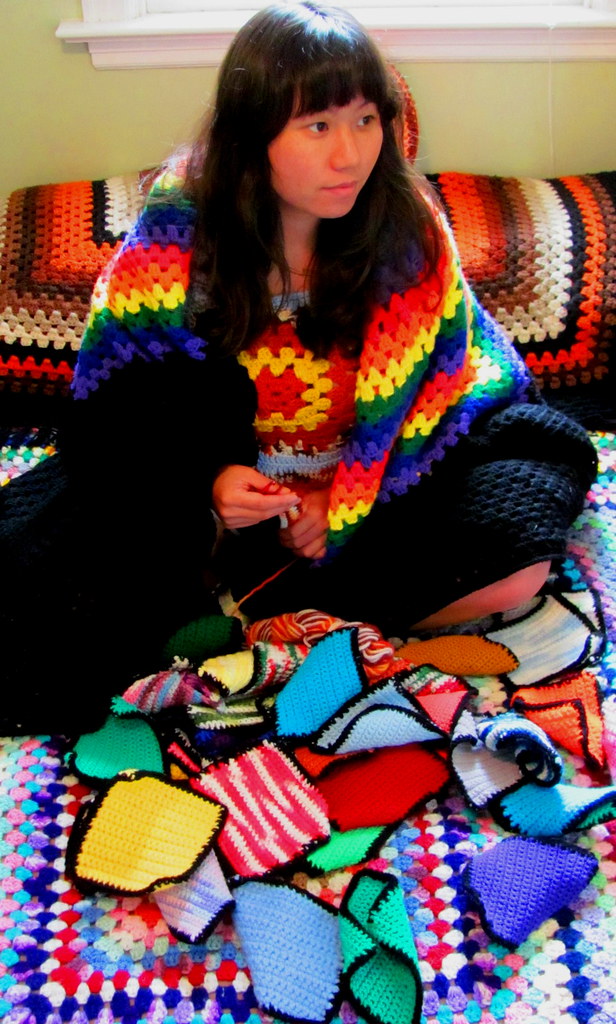
Here is a larger version of one of the self portraits taken to represent myself. This photo was taken this afternoon in our bedroom. I'm crocheting an afghan while surrounded by afghans I've crocheted. I started the patchwork squares afghan I'm working on in the photo when I was 5 years old! Unfortunately it's still quite a long way off from being finished but I plan to keep you posted with my progress.
Sunday, July 8, 2012
Create your own Congratulations card
Yesterday, my boyfriend and I DJ-ed the wedding reception of two of our very dear friends. It was a wonderful celebration and despite it being the hottest day all summer, it was a very special day that I won't soon forget. In these situations, it's my personal tradition to always make my own handmade greeting card. A little bit of handmade always goes a long way!
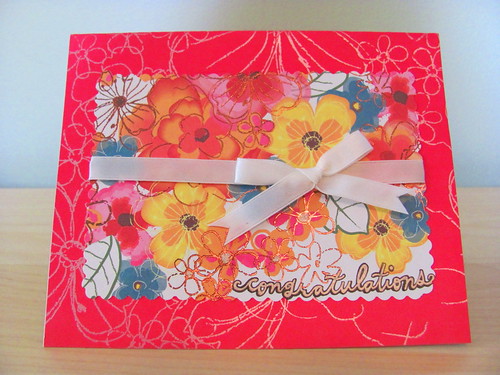
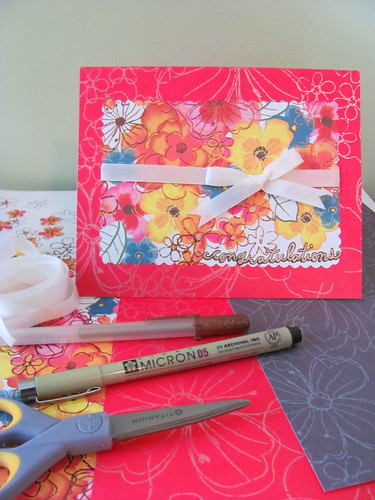
Here's the Congratulations card I made for my friends.
Here's the Congratulations card I made for my friends.
With only a handful of supplies (that you probably already have laying around), you can create your very own. When it comes to supplies, I used only the basics to make this card:
- a few sheets of colorful cardstock (scrapbooking paper)
- thicker off-white cardstock
- ribbon
- Sakura pens
- Calligraphy pen
- scallop edge scissors
- my paper cutter
- regular scissors
- a glue stick
- Tacky glue
I embellished the envelope with a LOVE themed postage stamp, Chartpak permanent maker, glitter gel pen and prima blossom fastened with a brad.
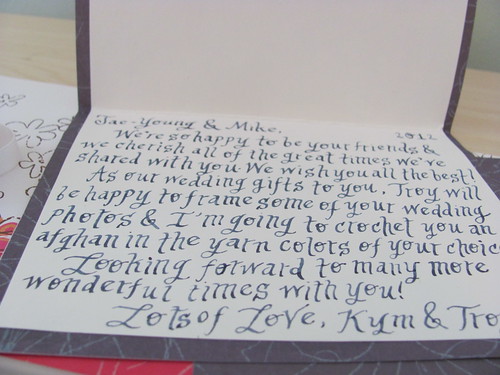
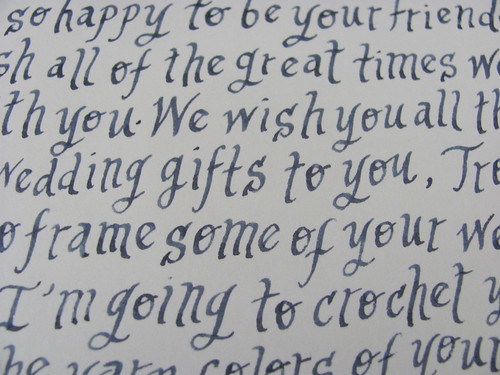
I find that using calligraphy gives every personal greeting, that extra touch of decadence.
I first learned calligraphy in 1st Grade, from my teacher, Mrs. Petersen who seemed ancient then but surprisingly is still alive. My mom often bumps into her at craft shows and she still asks about me. She was one of my craftiest teachers and a great inspiration to me growing up.
When it comes to calligraphy, all I can advise is the tried and true proverb - practice makes perfect. I haven't stopped practicing calligraphy since I first learned it and believe me, I get plenty of practice as I still use it daily to address packages to my lovely etsy customers.
Saturday, June 30, 2012
Crochet Granny Square Placemat & Coaster Set Tutorial
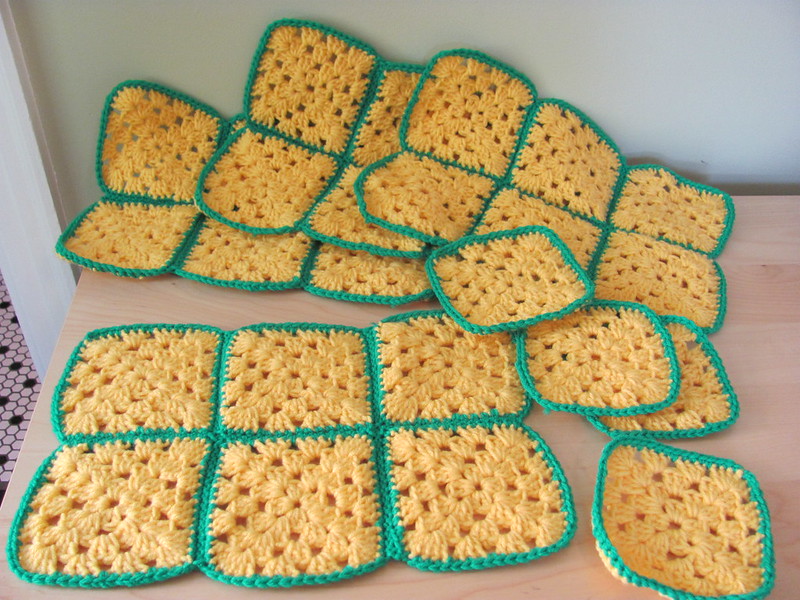
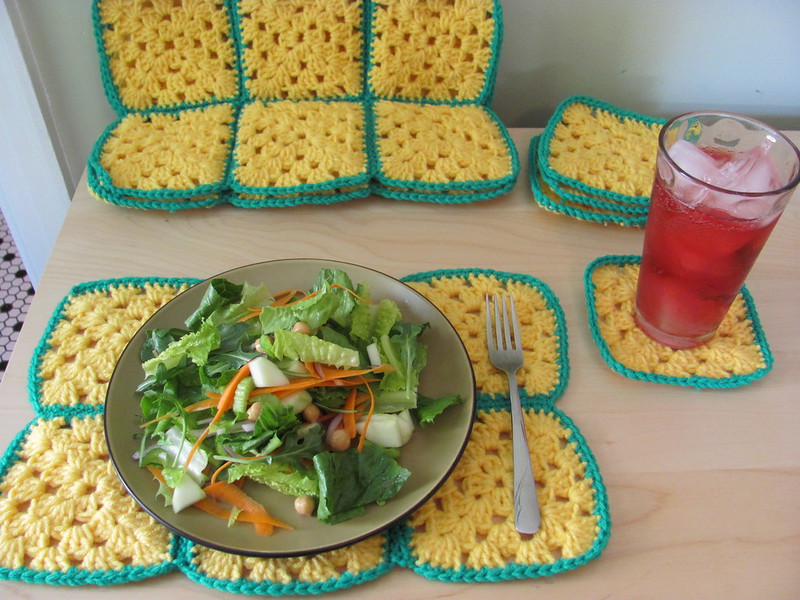
Recently my penpal and fellow Etsian, Raquel in Stockholm, Sweden got married. I wanted to make her and her husband an unique wedding present by creating something long lasting that they could actually use in their day to day lives. So I crocheted them a beautiful set of 4 two tone lemon yellow and kelly green placemats with matching coasters.
(Most) yarn is very absorbant so it will protect surfaces from moisture. These gifts are also easy to store, wash and dry. Just throw them in the washing machine and then let them air dry.
It seems like a lot of people either don't know how to crochet or don't know what to crochet so I created this crochet tutorial for beginner/intermediate crochet-ers. If you've ever just wanted to learn how to crochet or wanted to crochet something simple and very useful in less than a week, this is just the tutorial for you!
What you'll need

Crocheting the coasters
Step 1
Chain 5.
Step 2
Connect the 5th chain to the 1st chain to create a ring.
Step 5
Connect your last stitch to the top of the 3rd chain.
Yay! Now you know how to create a circle or a button. This is the first step to any number of creations and embellishments. You can create bigger circles by adding more chains and/or half double crochet stitches around. Alternately, you can create smaller circles by using less.
Step 6
Chain up 3.
Step 7
Now you're going to begin creating the corners of your granny square. These edges created from double crochet stitches are also known as scallops. On the first corner, you will crochet 5 HDCs (HDC = half double crochet stitches) in the same loop/hole as your 3 chains. Then chain 1, crochet 6 HDCs in the next loop, continuing the pattern all the way around.
Step 3
Crochet all the way across to the left edge.
Step 5
Time to connect the 3rd set of squares. Repeat step 4.
Step 6
Now that you've reached the end of the line, tie off and hide your loose end.
Now that you've reached the end of the line, tie off and hide your loose end.
(Most) yarn is very absorbant so it will protect surfaces from moisture. These gifts are also easy to store, wash and dry. Just throw them in the washing machine and then let them air dry.
It seems like a lot of people either don't know how to crochet or don't know what to crochet so I created this crochet tutorial for beginner/intermediate crochet-ers. If you've ever just wanted to learn how to crochet or wanted to crochet something simple and very useful in less than a week, this is just the tutorial for you!
What you'll need

- 2 standard skeins of yarn (364 yds/333 m) (I used Red Heart Super Saver synthetic wool blends)
- Size J crochet hook
- Scissors
Crocheting the coasters
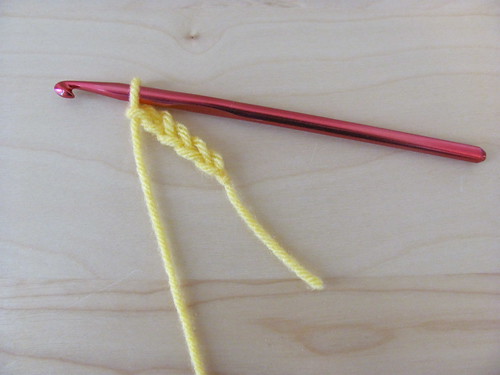
Step 1
Chain 5.
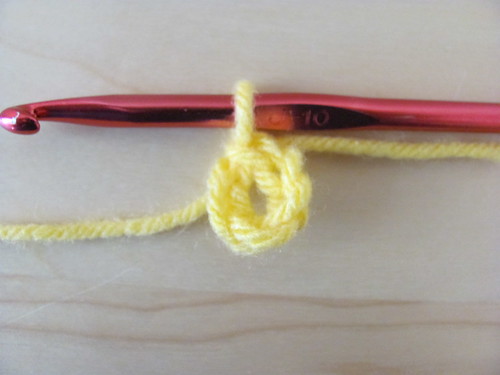
Step 2
Connect the 5th chain to the 1st chain to create a ring.
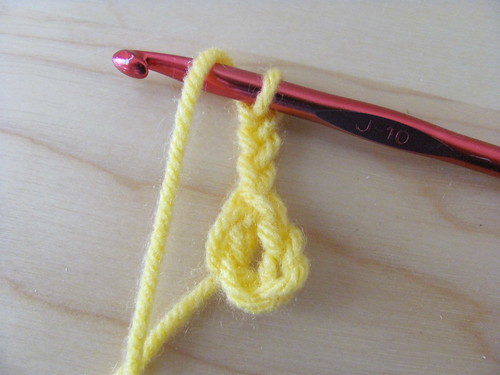
Step 3
Chain up 3.
Step 4
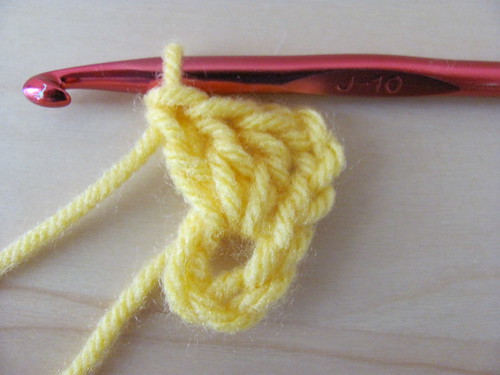
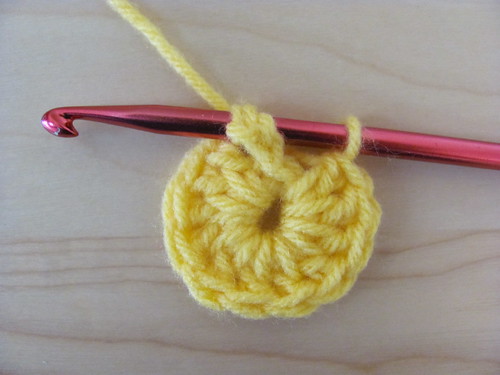
Half double crochet 11 stitches around the ring (make 12 stitches total which includes the 3 you just chained up [3 chain stitches = 1 half double crochet]).Step 5
Connect your last stitch to the top of the 3rd chain.
Yay! Now you know how to create a circle or a button. This is the first step to any number of creations and embellishments. You can create bigger circles by adding more chains and/or half double crochet stitches around. Alternately, you can create smaller circles by using less.
Step 6
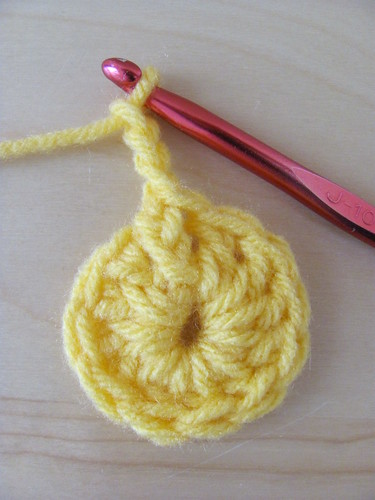
Chain up 3.
Step 7
Now you're going to begin creating the corners of your granny square. These edges created from double crochet stitches are also known as scallops. On the first corner, you will crochet 5 HDCs (HDC = half double crochet stitches) in the same loop/hole as your 3 chains. Then chain 1, crochet 6 HDCs in the next loop, continuing the pattern all the way around.
Step 8
After you've created your last scallop, connect your last stitch to the top of the 3rd chain.
Step 9
Once you've connected the stitches, you can tie off and cut your yarn, leaving enough excess to hide your loose end on the wrong side of the square. Hiding the loose end is a simple process of weaving the yarn back through the loops of the wrong side of the square. This is a technique which you will become very familiar with the longer you crochet!
Step 10
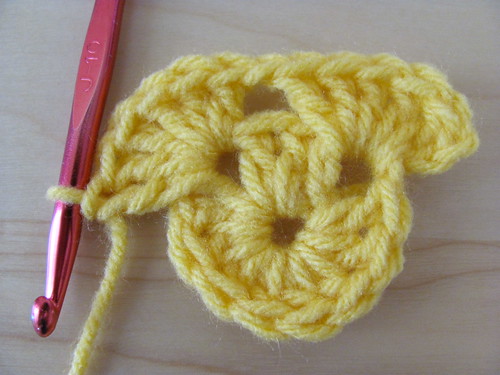
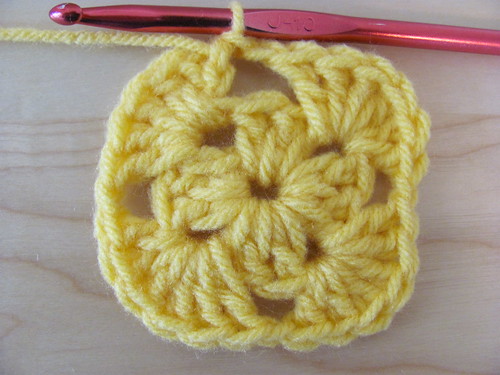
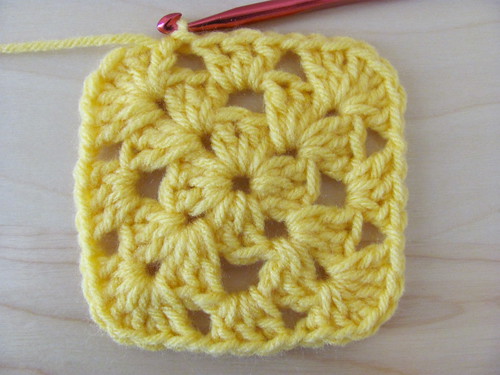
This is similar to Step 7. The only thing different is that after you've created a scallop, you chain 1, crochet 3 HDCs in the next loop, chain 1 and create your next scallop. After you've created your last (fourth) scallop, connect your last stitch to the top of the 3rd chain. Repeat step 9 and now your granny square is growing!
Step 11
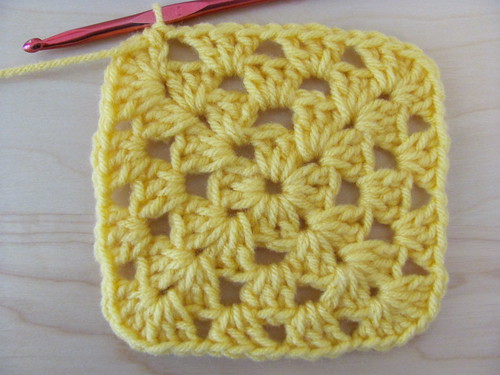
This is the final row in your granny square. It starts just like Step 10. Create a scallop, chain 1, crochet 3 HDCs in the next loop, chain 1, crochet 3 HDCs in the next loop, chain 1 and create your next scallop. After you've created your last (fourth) scallop, connect your last stitch to the top of the 3rd chain. Repeat step 9 and now your granny square is finished. Now you know the basics of creating a granny square and the world is your scallop!
Step 12
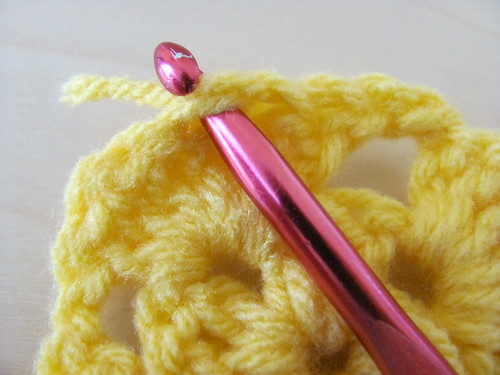
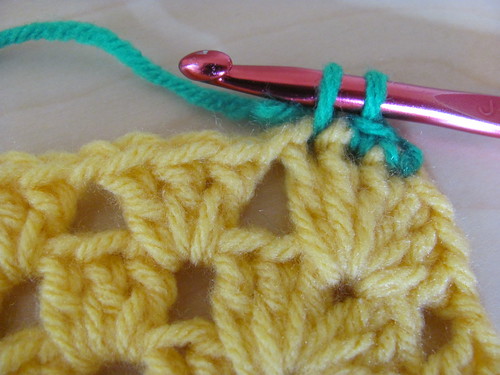
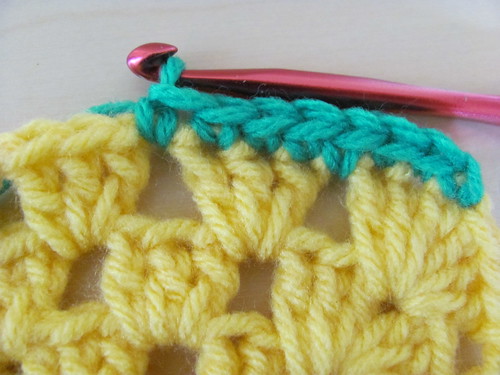
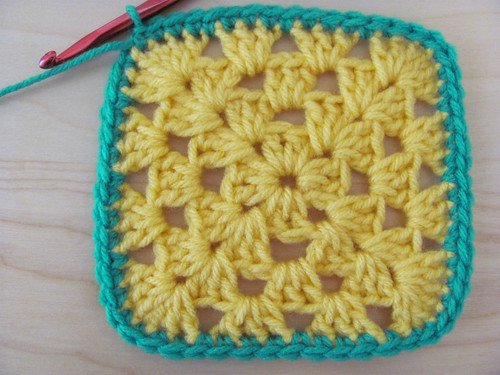
Now you're going to create a border around your granny square with the other yarn color. This is simply done by crocheting all around the square.
Make sure to crochet "inside" each loop.
Step 13
Once you've crocheted all the way around the square, repeat step 9. Now you have a finished coaster. Now you just need to make a total of 15 more squares just like this. 4 will remain as coasters, the rest will be crocheted together to form the placemats.
Assembling the placemats
Step 1
To begin assembling the placemats, you need 6 completed squares. To get an idea of how the placemat is going to be assembled, arrange all the squares in 2 rows of 3 with the wrong side up.
Step 2
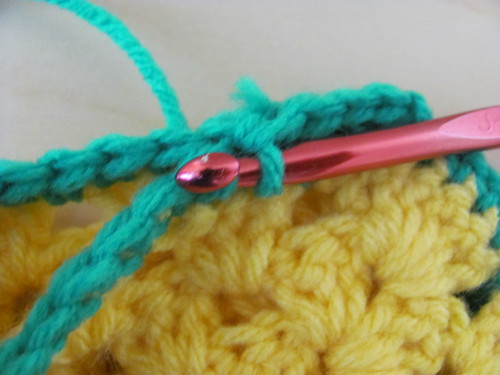
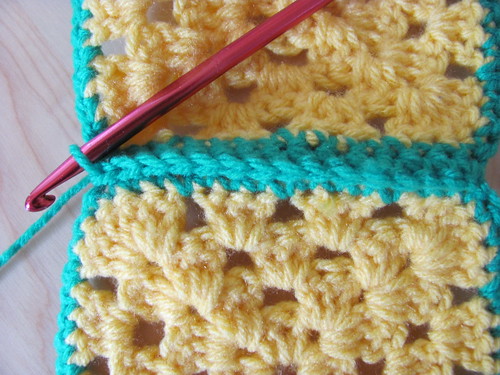
Crochet 2 of the squares together, wrong sides facing out (right sides facing inside). Start at right corner of the square facing you by inserting your hook through the top of the flush edges connecting the 2 squares.
Step 3
Crochet all the way across to the left edge.
Step 4
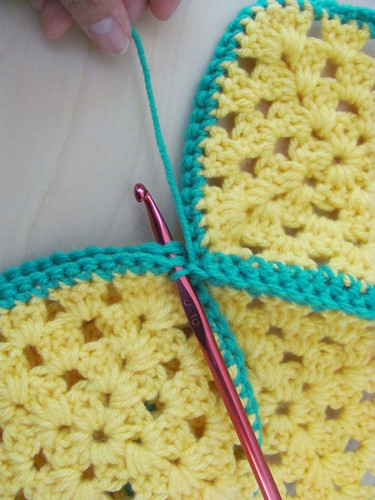
OK, this part is a little tricky but by the time you've finished your 4th placemat, you'll surely have it mastered. You're now going to connect your 2nd set of squares to the 1st set. Repeat step 2 and make sure that your first stitch is very taught. Repeat step 3.
Step 5
Time to connect the 3rd set of squares. Repeat step 4.
Step 6
Now that you've reached the end of the line, tie off and hide your loose end.
Step 7
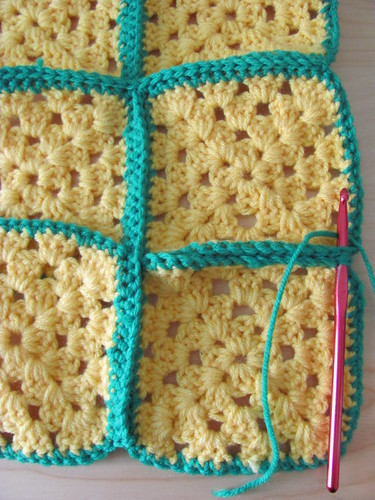
Now it's time to connect the rest of the squares inside of your placemat. You can start at either end of the placemat. Repeat step 2.
Step 8
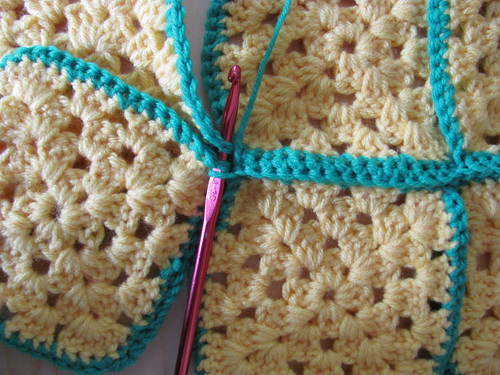
As you're crocheting along, when you get to the intersection of 4 square corners, simply continue crocheting over the already connected squares to connect all 4. Make sure the yarn is extra taught.
Step 9
Step 10
To connect the final squares, repeat steps 7-9.
Congratulations! Now you've finished your first placemat. Flip it over and admire the detail of your beautifully connected squares! Only 3 more placemats to go. By the time you finish the last one you'll be an expert!
Subscribe to:
Comments (Atom)


