My dad turned 70 yrs old a few days ago and I'm typing this post from my childhood bedroom where I'll be staying for the next few days. My parents are sound asleep in their bedroom and I can hear the familiar sound of trains in the distance. My bedroom windows are wide open and the cool Northern breeze is ever so refreshing. This summer evening has all of the magical emotion as many summer evenings passed as a kid and a teen right here in this very spot.
Anyway, in preparation for my trip up here to celebrate my dad's 70th, I made a card for him and also a card to honor (long since passed) Mother's Day & my mom's 69th birthday. My dad's a retired mechanic and loves anything having to do with cars. My mom, like many moms, is obsessed with cats.
Mom's card first with a quick cardmaking tutorial to boot.
Supplies (you don't need a ton of them but here's a few you might want to play with)
Scissors
Pencil
Extra fine tipped Magic Marker
Tacky glue
Glue stick
Alphabet stencil
Card stock (3-4 sheets in different colors)
Washi tape or any sort of decorative tape
Ruler
Exacto Knife
[optional] Sewing machine & thread
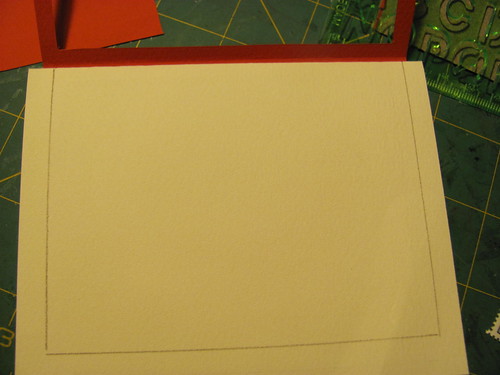
1. Layer the card paper. Measure the paper for your card and cut it to your liking. I used 8 1/2" x 5 1/2" for the white base and then mounted 8" x 5" red paper onto the center of that to create the "frame". Only glue the back of the card. Do not glue the front.
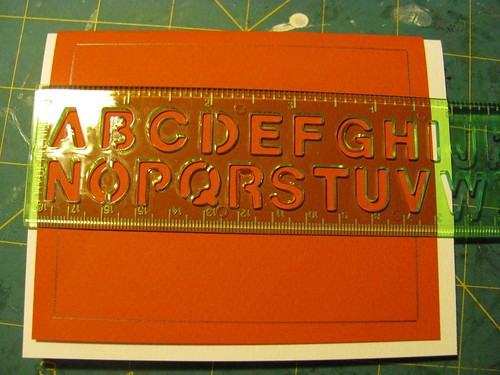
2. To cut out the frame, measure 1/4" in on each size, trace a rectangle and cut it out with your Exacto Knife, against the edge of a ruler for a straight edge.
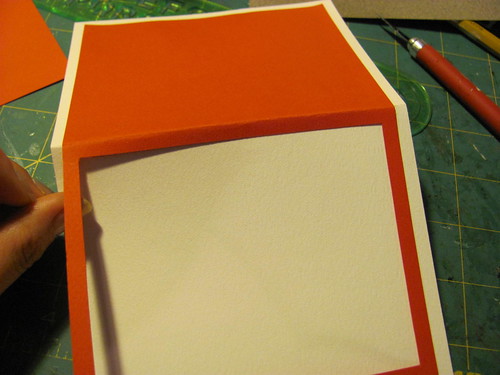
3. Lift up the edge of the frame and trace a rectangle beneath where the frame will lay. You're basically creating an imaginary border for where you will lay your little stamp collage.
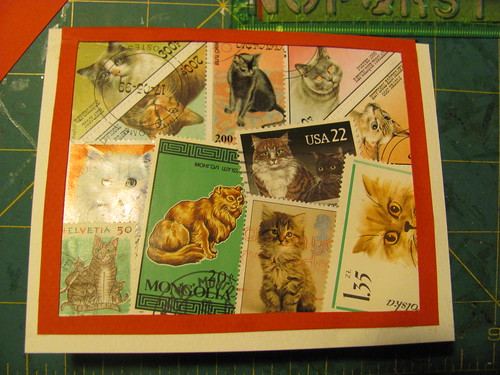
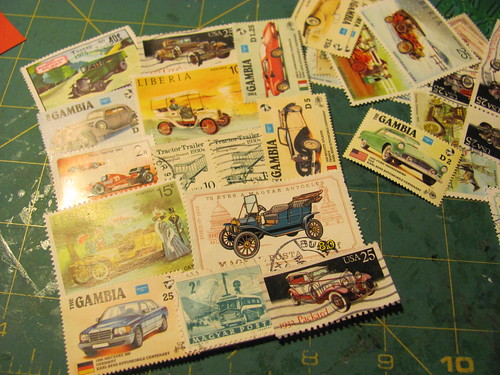
4. Pick out your stamps and glue them down inside of your imaginary border. If any stamps hang out from under where the frame lays, just cut them off with scissors or an Exacto knife. Once the frame edge is clean, glue the frame down with tacky glue.
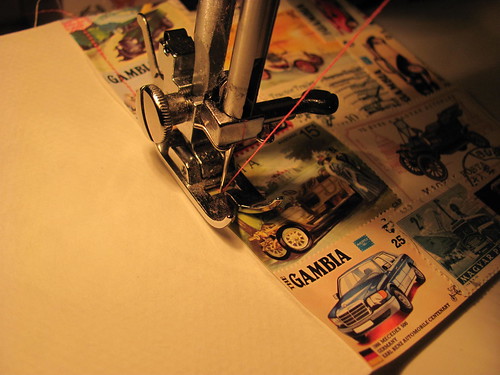
This step is optional. If you have a sewing machine, you can sew around the frame for extra textured embellishment.
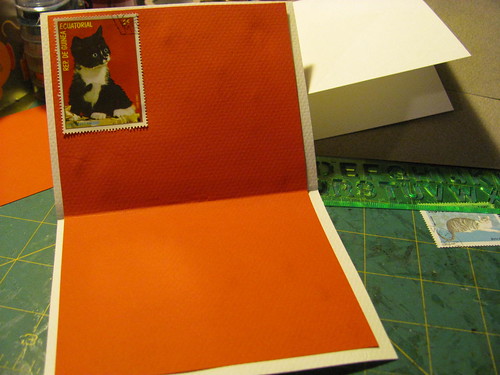
5. Inside of the card you can mount another smaller paper and add a stamp or two to make your recipient smile.
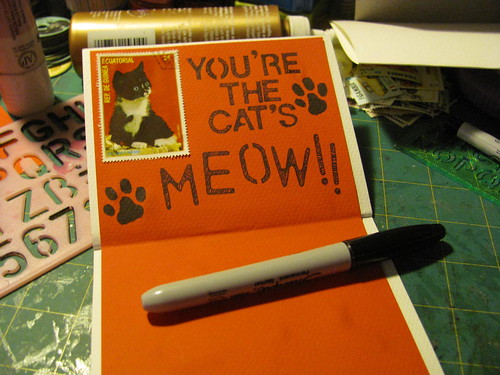
6. Stencil out your greeting for extra style. I also drew in a few paw prints.
Moving onto my dad's card. I'm not going to describe every step because it's actually quite similar to my mom's card.
So there you have it and if you want to make similar cards, with similar stamps, you can find more car stamps HERE and you can find more cat stamps HERE.
Thanks for looking and good night!







Gorgeous blog ..... I love the recycling aspect with the stamps x Now following
ReplyDeleteThanks Ava. Welcome to Preciousowl-land. ^_^
DeleteHi Kimberlee, Dorothy was right when she said 'there's no place like home"..I hope you are enjoying the precious time with your family. Love your stamps, the cards are awesome! especially the little cat peeking up (bottom right). I am sure your mum and dad will treasure them. Also a big happy birthday to your mum and dad from across the pond :)
ReplyDeleteThank you Tamara. My parents were so pleased with their cards. A little handmade work goes a long way; a sentiment which I'm sure you can relate to. Thanks for the birthday wishes for my family. My parents are so happy to have me at home and I'm so happy to be here. :)
DeleteI love your blog! I've added you to my Etsy as well (I'm realswanky on there) <3
ReplyDeleteSweet! I just added your shop to my favs on etsy. That's rad that you make lingerie. I've always been curious about making my own.
Delete