Saturday, January 31, 2015

All Aboard!

Even though I arrived in San Francisco at the end of November 2014, I've been so busy unpacking and trying to get settled in my new surroundings that nearly 2 months after moving this is actually my first official West Coast post.  Etsy business is still business as usual.  So far 2015 is off to a prosperous start.  (Since my shop first opened in May 2010) I've had a total of nearly 4,300 sales and and accumulation of over 1,200 admirers.  The new year has been filled with plenty of great stamp orders and a handful of unique custom crochet requests.

I recently acquired a massive new selection of washi tape inventory but due to my busy travel schedule, I still haven't yet had the time to get all of the listings up.  However, I really, REALLY hope to have everything listed by the end of next week.

I've also acquired a ton of new stamp stock but still haven't managed the time to get everything sorted and listed; story of my life!  Please be patient with me, slowly but surely, everything will get listed soon.

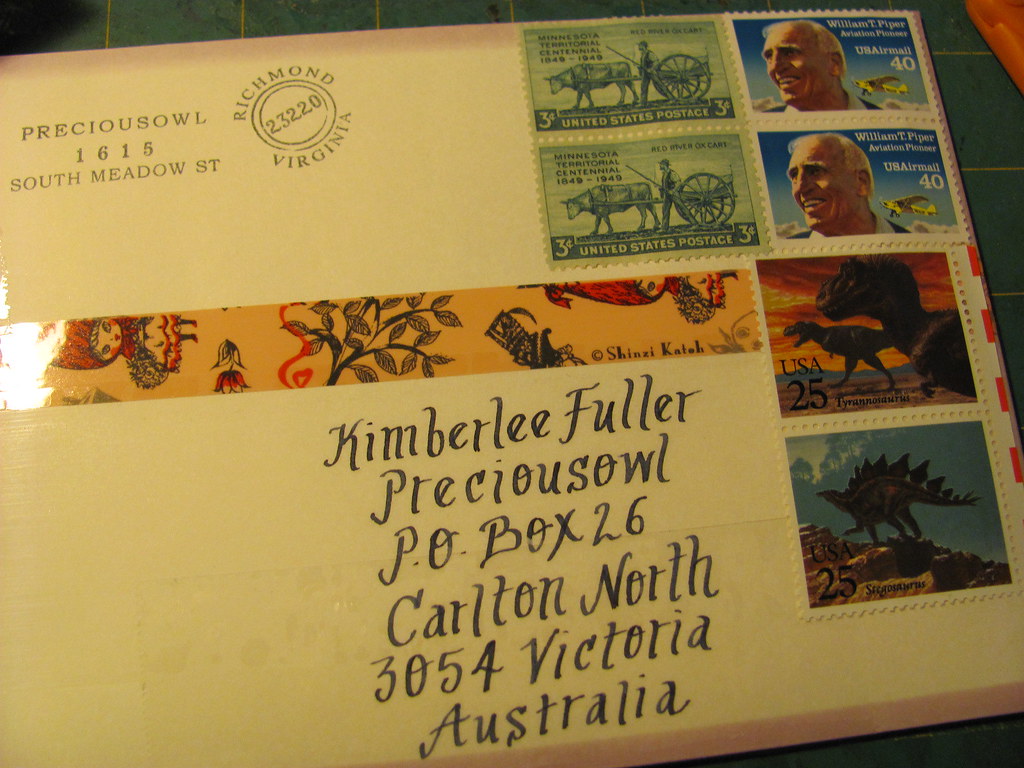
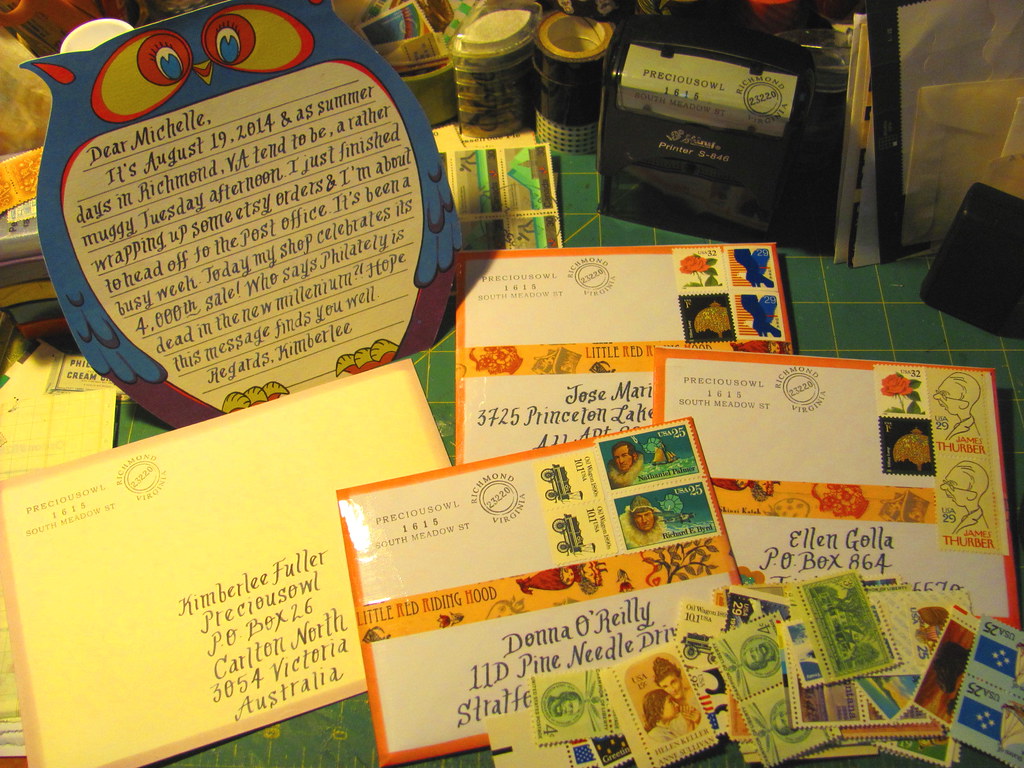
But now for something completely different.  One thing I'd really like to blog about is gift tags.  I just received a really fun custom order request for vintage railway themed gift tags for birthday party favors.  I had so much fun making these tags that I wanted to share this great idea with my readers. Obviously, you can create your own tags with any theme, not just trains, for any occasion.  Even though I used vintage postage stamp embellishments, you could use anything that suits your fancy. Also, although I typed on the tags with a vintage typewriter, you can write you own messages in pen, stencil, rub on letters or alphabet stickers.

Vintage Luggage Tags - Paper Punched Gift Tags


Here are some of the supplies you could use:
Cardstock
Scissors
Glue Stick
Pens & Markers
Typewriter (optional)
Luggage tag shaped paper punches and/or round/circular paper punches
Hole Punch
Twine
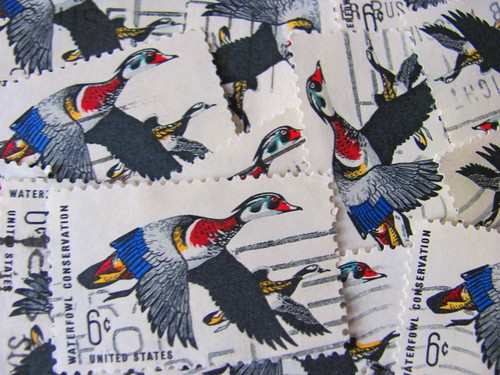
Vintage Postage Stamps or other embellishments


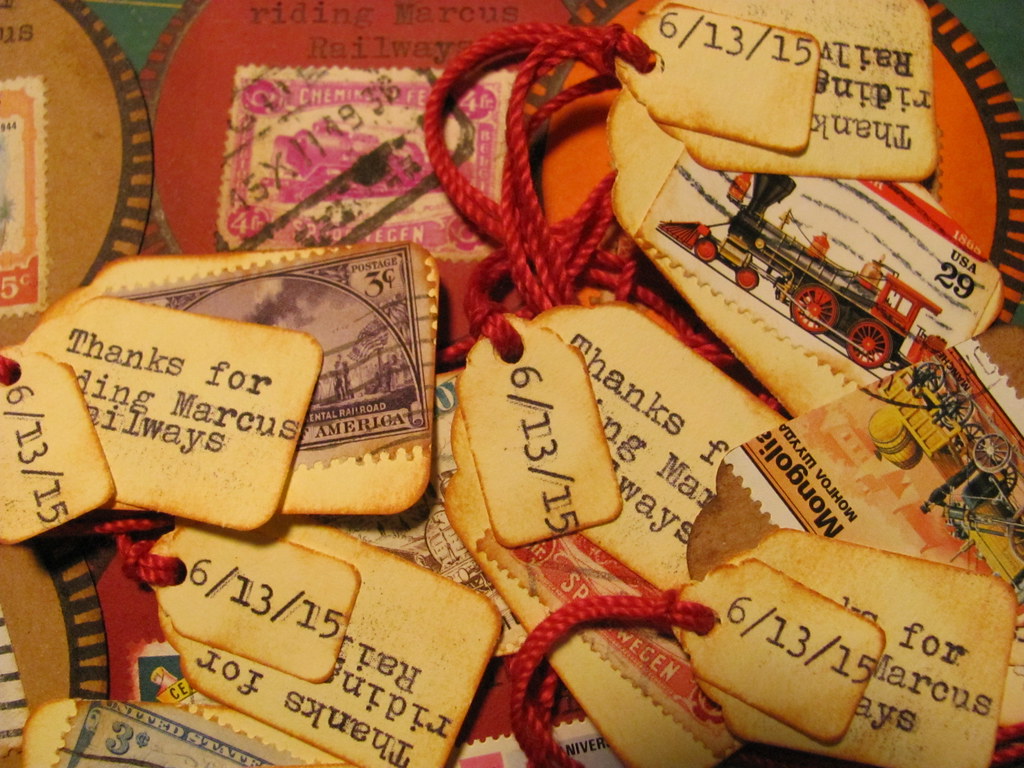
To create the antiqued paper look, rub the edges of your punches with a brown or tan ink pad.


Layering your punches creates more texture and gives you more space for messages.  


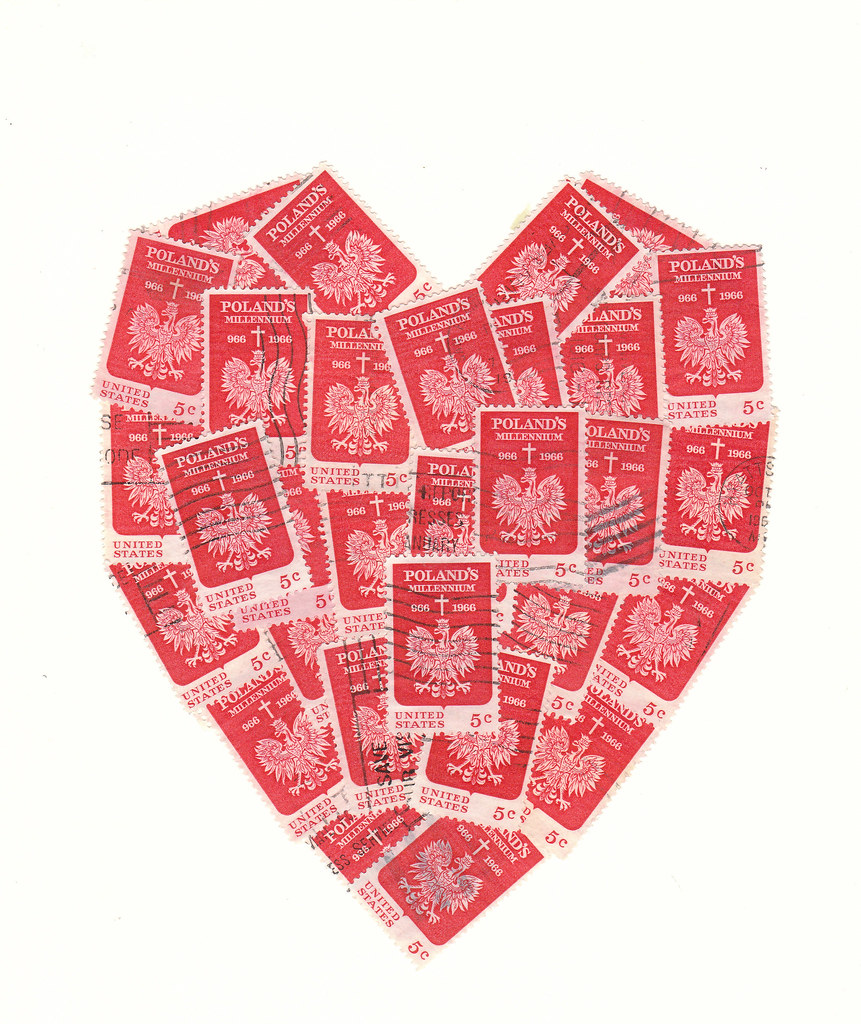
With Valentine's Day right around the corner, you could use this same idea but with heart shaped punches for romantic gifts and greetings.  

Monday, November 10, 2014

Going back to Cali!


Many of my followers may not be aware that I used to live in San Francisco from 1996-1998.  It's one of my favorite cities on Earth!  It's such a beautiful, colorful, dynamic and exciting place. I loved living there in my late teens but at the time, I simply couldn't afford it.  I was also eager to explore other cities and ended up living in many different places since then but I never stopped missing the Bay Area and wondering when/if I would ever live there again.  Anyway, when the opportunity recently arose for me to relocate back to the West Coast I immediately embraced it with open arms.

This coming weekend I will begin my cross-country relocation.  It's going to be quite an endevour since I'm driving a 24' moving truck and towing my car across the country.  Since it's the holiday season I'm keeping my shop open during the move but my ability to ship orders will be limited through Friday, November 14 - Wednesday, November 26.  Hopefully by the end of Thanksgiving weekend, everything will be back up and running at full force.  And if you live on the West Coast, you can expect to receive your orders that much quicker in the very near future. 

Once I am settled in SF, I will be putting a lot more time and effort into broadening the philatelic focus within my shop.  I also (still) have a ton of vintage ephemera to process, mountains of magazines!  Stay tuned for more details and updates!

Tuesday, August 19, 2014

Snail Mail contribution & 4,000 sales!

Today marks a very important event in the history of my etsy shop.  Since my shop opened in the spring of 2010, today I finally made my 4,000th sale!  I want to thank everyone who has helped support my shop over the years.  While most of my sales have been philatelic and ephemeral in nature, many have also been handmade.  Since I'm still in the process of completing my latest crochet projects let's celebrate with a few images of some of my favorite and most popular rainbow colored vintage stamp sets in the meantime.  My handpicked one of a kind collections have offered inspiration to thousands of crafters and philatelists over the years and I can only hope that I will have the opportunity to continue sharing this joy and creativity around the world for many more years to come.


Finnish philately - Suomi to Finns.


A Royal Rainbow.  These colorful British Machins are so popular, I can barely ever keep them in stock.
 
Recently, an Australian customer of mine contacted me after making a few purchases.  She's writing a book on (one of my favorite subjects) snail mail.  She wanted to include an image of the package and contents of what she purchased from my shop in her book and also asked me to send her another contribution.  Below are images of what I sent her along with some outgoing mail for other etsy customers.  Incase you're curious about how my small sales items are packaged, all customers who purchase 1-2 stamp sets from my shop receive calligraphy embellished envelopes covered in vintage US philately as featured here.
 

Don't just send an ordinary greeting.  Show someone you really care by embellishing your mail with colorful, memorable vintage stamps!


For more information on Michelle's book project and a daily does of all things cute and colorful, she's: michellemackinstosh on Instagram and michellemackintosh.tumblr.com

Saturday, March 29, 2014

We make great shapes

I know that Valentine's Day has already come and gone but love is everywhere and I want to share this romantic inspiration.  This is a collage that one of my etsy customers made for her Polish husband out of some color themed stamps from my shop.  In this specific case, she used Scott 1313.  First issued on July 30th, 1966, this stamp honors Poland's millenium.  This is such a great, personal handmade gift that can either be created on a card or matted, framed and displayed as a lasting token of your love and friendship.

I also want to share with you the works of an extremely talented customer of mine based in Australia.  Liska of the Stamp Collective has a great website where you can purchase her creations, read her blog, learn about great gift ideas and download some fabulous printables.

These are some of my favorite creations of hers that are currently on sale in her shop.


One of my favorite insects, a cicada.  Such beautiful handcut detail!

 
I love the subtle rainbow spectrum of this bird family.
 
 
This is such a great idea, a world map created with stamps representing the nations visited on a family trip!

Thanks for looking and have a great day!

March Madness

Well, it's pretty obvious that blogging hasn't really been a major priority for me in 2014!  While the idea of it is perpetually floating around my mind, all I can really say that it's just been a really busy year and I'm sorry that I haven't made time to do it because I quite enjoy it. 

Spring time is a new time.  It's time for new beginnings and fresh starts, starting with updating this cobweb ridden blog. 

Anyway, I haven't stopped crafting.  The winter is the finest time for crocheting and a few months ago, I received a pretty awesome custom request from an etsy customer.  Some of my readers may be familiar with my cOWL's nest 45 RPM record boxes but this was a request for a LP/12" storage box in custom colors.  I decided to crochet various gradient pin stripes and I had some eye popping results.


In other news, after a pretty slow start this past holiday season was the most successful season I've had since I opened my etsy shop.  My sales totally eclipsed all previous years.  I received a multitude of positive feedback, new customers, returning customers and encouragement to keep on doing what I'm doing. 

So what does that mean for the future?  Big, better and prettier plans of course!  Over the next few wks I plan to update my inventory with mountains of new philately.  I also have a ton of other fantastic vintage ephemera to list and then if I can manage to get around to it, there's no shortage of half finished handmade projects that need to get done.  An owl's job is never done.


Monday, November 25, 2013

It's a crewel, crewel world!


Recently I was commissioned to complete some custom crochet work quite unlike anything I've ever done before.  My client sent me a link to this ebay listing.  She wanted 3 stars like the one featured in the listing but she wanted them done in 100% mercerized cotton instead of yarn and 8" instead of 12".

So after a fair amount of scrutiny, I reverse engineered the pattern and got to work.  If you're interested in making some of your own stars, it goes a little bit like this.  Depending on how tight you crochet, you may want to add a chain or 2 between each set. 


1) Chain 4 to create a "magic loop". 
2) Crochet 19 HDCs into the 1st chain to create your first round (19 + 3 chains = 20 total).
3) Crochet 4 HDCs in every 2 HDCs of the previous round (10 sets of 4).
4) Crochet 4 HDCs after every 4 HDCs of the previous round (10 sets of 4).
5) Crochet 4 HDCs in every 2 HDCs of the previous round and increase by 2 sets (12 sets of 4).
6) This is where it starts to get a little tricky and you need to pay close attention to your counting.  Crochet 4 HDCs after the 1st 4 HDCs, crochet 10 HDCs in the next 2 (center of 4), crochet 4 HDCs after the 3rd set of 4.  So the pattern is 4-10-4 x 5.
7) The next row you increase 4-11-4 x 5.  Then you tie off.

To create each star's leg the pattern is:

1) 4-10-4.  Flip the star and crochet backwards to start the next row.
2) 4-9-4.  Flip...
3) 4-8-4...and so on until you reach the top.  The last row is just 4-4.

Joining/finishing all the legs:

Chain 3 in the last row (which is 3 chains) of every row and connect with a single chain.  3-1-3. 

So now your star is complete and the real work is just getting started.  This was my first time ever attempting crewel work.  It's not hard but it's definitely a pain in the ass.  It takes forever and it's very tedious work. 


Crewel work:

Cut 10 2 foot long strings.  Bundle your strings and always keep them twisted tight.  Cut another 4-6 foot long string to embroider with.  Initially you will double French knot your string bundle to the center of the star and then you will blanket stitch the bundle all around the star.  French knot when you return to the center and start a new leg. 


While the results are amazing and a true testament to old fashioned handicrafts, I do not recommend this project unless you have a truckload of patience and time on your hands.


Finally, my client is going to embroider the finished stars onto her own pillows.  This last image gives you an example of what they'll look like.

Saturday, November 9, 2013

1960s US Philately

Business-wise, this is generally the beginning of the busiest time of the year for my etsy shop.  However, admittedly, this year has gotten off to a slower start than usual.  I shouldn't and don't want to complain though since on an annual basis, my business continues to grow.  I mainly just blame the shaky economy.  I'm extremely thankful for the steady business that I have and I'm especially appreciative of my loyal and enthusiastic customers.  But let's not forget the new customers either!  In spite of all of the competition out there, I know I've created something really special and unique and I'm so pleased that 930+ Etsians have favorited my shop.  Now I wonder how long it'll take me to break 1,000.

I recently acquired a fairly comprehensive collection of US philately from the 1960s.  I've spent the past weeks sorting through everything and after endless hours of sorting, labeling and organizing, I've finally processed the bulk of the collection.


Can you blame me for drinking a little wine in the process?


Here's a few close ups of some of my favorite sets.


Wood Ducks, Scott 1362.


Johnny Appleseed, Scott 1317.


Mississippi Statehood, Scott 1337.


Homemakers, Scott 1253.


Bill of Rights, Scott 1312.

I'll be back very soon with an update on a really cool custom crochet project I've been working on!