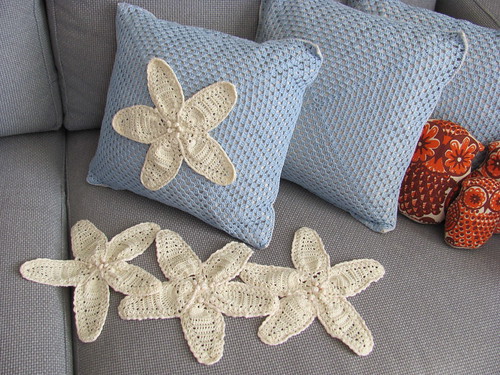
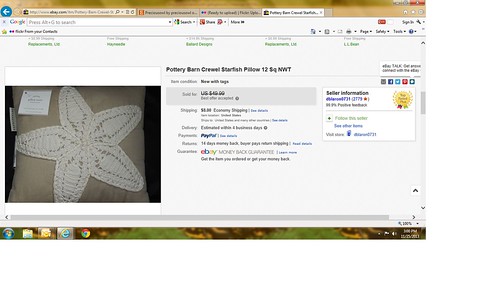
Recently I was commissioned to complete some custom crochet work quite unlike anything I've ever done before. My client sent me a link to this ebay listing. She wanted 3 stars like the one featured in the listing but she wanted them done in 100% mercerized cotton instead of yarn and 8" instead of 12".

1) Chain 4 to create a "magic loop".
2) Crochet 19 HDCs into the 1st chain to create your first round (19 + 3 chains = 20 total).
3) Crochet 4 HDCs in every 2 HDCs of the previous round (10 sets of 4).
4) Crochet 4 HDCs after every 4 HDCs of the previous round (10 sets of 4).
5) Crochet 4 HDCs in every 2 HDCs of the previous round and increase by 2 sets (12 sets of 4).
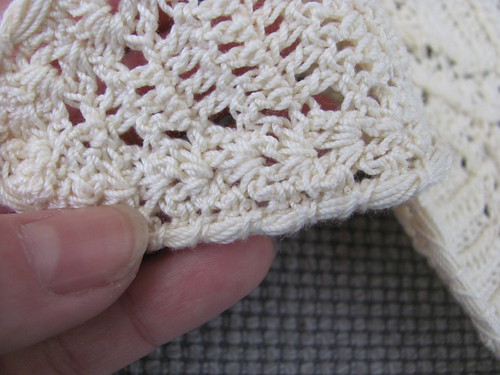
6) This is where it starts to get a little tricky and you need to pay close attention to your counting. Crochet 4 HDCs after the 1st 4 HDCs, crochet 10 HDCs in the next 2 (center of 4), crochet 4 HDCs after the 3rd set of 4. So the pattern is 4-10-4 x 5.
7) The next row you increase 4-11-4 x 5. Then you tie off.
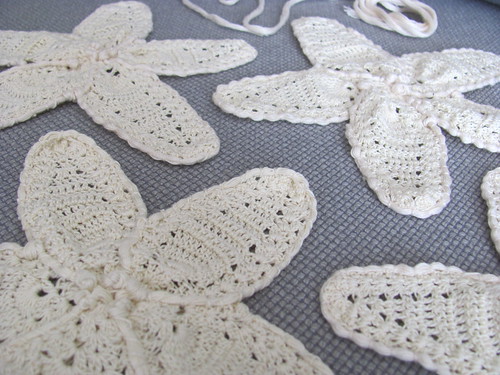
To create each star's leg the pattern is:
1) 4-10-4. Flip the star and crochet backwards to start the next row.
2) 4-9-4. Flip...
3) 4-8-4...and so on until you reach the top. The last row is just 4-4.
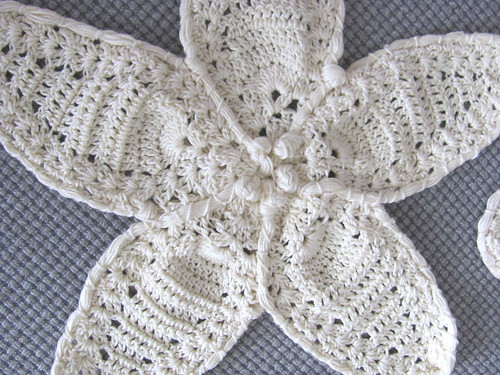
Joining/finishing all the legs:
Chain 3 in the last row (which is 3 chains) of every row and connect with a single chain. 3-1-3.
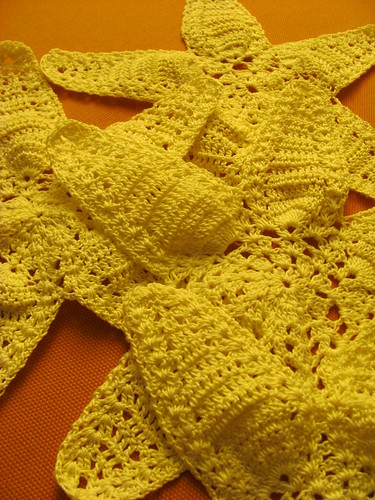
So now your star is complete and the real work is just getting started. This was my first time ever attempting crewel work. It's not hard but it's definitely a pain in the ass. It takes forever and it's very tedious work.


Crewel work:
Cut 10 2 foot long strings. Bundle your strings and always keep them twisted tight. Cut another 4-6 foot long string to embroider with. Initially you will double French knot your string bundle to the center of the star and then you will blanket stitch the bundle all around the star. French knot when you return to the center and start a new leg.
While the results are amazing and a true testament to old fashioned handicrafts, I do not recommend this project unless you have a truckload of patience and time on your hands.
Finally, my client is going to embroider the finished stars onto her own pillows. This last image gives you an example of what they'll look like.